Start with the defect, not an explanation
When a product fails inspection, the first explanation may sound convincing: an operator made a mistake, a supplier sent poor material, or a machine needs adjustment. Any of these might be true, but treating a guess as a conclusion can leave the underlying problem in place. Root-cause analysis is a structured way to investigate the conditions that allowed a defect to occur and, separately, to escape detection.
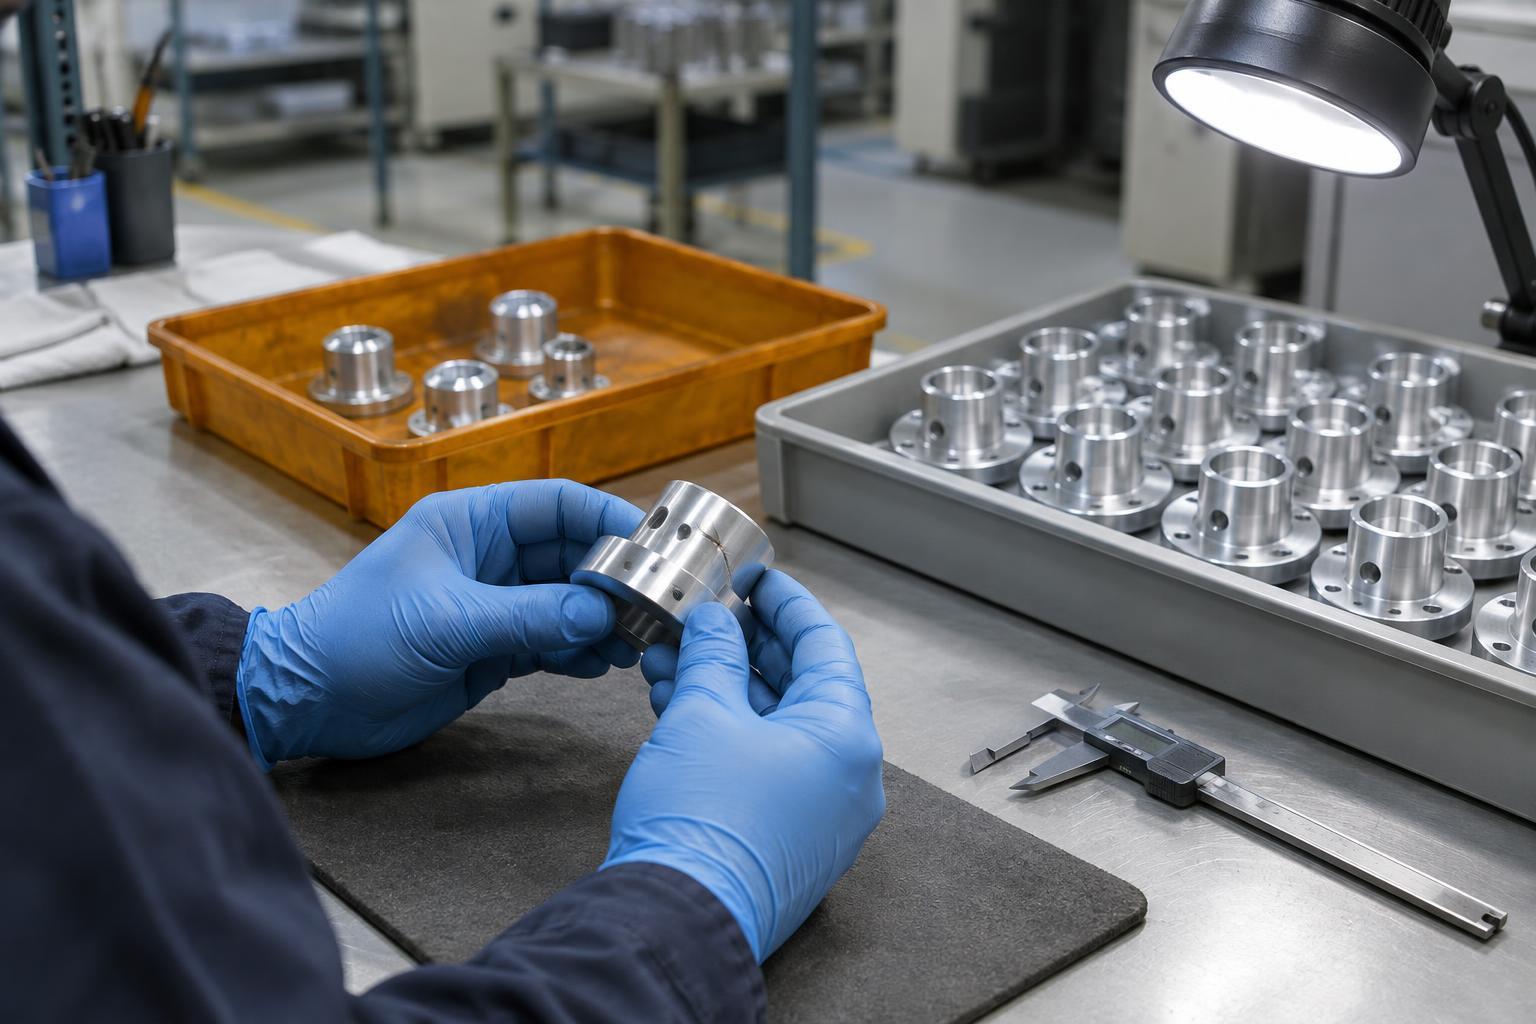
Begin with a specific problem statement. Instead of “the finish is bad,” record what was observed, where it appeared, which products or batches may be affected, and how it was found. For example: “Several molded housings from one production run have scratches on the visible face after packing.” Keep observations distinct from possible causes. If the affected scope is uncertain, say so.
Containment comes before a lengthy investigation. A team may separate suspect stock, inspect related units, or pause a process while it determines the scope. These steps protect the next stage of production or delivery, but they are not necessarily permanent fixes. The investigation asks why the defect arose and why the existing controls did not catch it sooner.
Use five whys to trace a cause-and-effect chain
The five whys method starts with the observed problem and repeatedly asks why it happened. The number five is a prompt to look beyond the first answer, not a required stopping point. Each answer should lead to a question that can be checked against the process.
For the scratched housings, a possible chain might begin: Why are the visible faces scratched? Because housings rub against each other in a tote. Why are they in direct contact? Because the divider inserts are missing. Why were inserts missing? Because the packing station ran out and staff continued using the totes. Why was the shortage not noticed in time? Because replenishment depended on an informal visual check. This chain suggests something more actionable than “be more careful”: establish a reliable way to stock and check the inserts.
That story is still a hypothesis until evidence supports it. Inspect the tote arrangement, compare scratched and unscratched units, and check whether marks could have formed earlier. If the answers do not connect or several causes seem plausible, branch the questions rather than forcing a single neat chain. It can also help to ask why inspection missed the scratches, since preventing a defect and detecting one are different tasks.
Use a fishbone diagram to widen the search
Five whys follows a line of reasoning; a fishbone diagram helps a team consider several lines at once. Write the defect at the “head,” then draw branches for areas that could contribute. Useful headings may include materials, equipment, methods, people, measurement, and environment. These are prompts, not a universal checklist: choose headings that fit the product and process.
Under methods, the team might note how housings are placed in totes. Under materials, it might examine the availability and fit of divider inserts. Equipment could include a conveyor transfer that marks parts before packing. Measurement could cover whether the inspection position and lighting make scratches easy to see. Writing these possibilities down makes it less likely that the discussion settles on the first explanation raised.
A fishbone diagram organizes questions; it does not prove causes. Mark which ideas have supporting observations and which need a test. Where possible, involve people familiar with different process steps and focus on conditions rather than blame. An operator’s account of how a station works during a busy changeover may reveal a gap that a written procedure does not show.
Turn findings into actions you can verify
Once evidence points to a likely cause, choose an action that addresses the mechanism, not just the visible symptom. If missing dividers allowed contact between parts, adding a final inspection may help detect scratches, but it will not stop the contact. A stronger plan might make dividers available at the point of use, define when totes may be packed, and assign a clear replenishment check. The right combination depends on what the investigation confirms.
Record what will change, who will put the change in place, and how the team will judge whether it worked. Verification might include checking that the revised packing method is used and examining subsequent housings for the same type of mark. Consider whether the action creates a new problem, such as slower handling or a divider material that leaves residue.
Finally, update the relevant instructions or training if the process has changed. Keep the original problem statement, evidence, reasoning, and follow-up result together so the next team can understand the decision. Root-cause analysis is most useful when it turns a defect into a better-controlled process, rather than a diagram filed away after the immediate issue has passed.