Start with the leak that matters
A bottle, valve housing or sealed package can fail in different ways. One may lose air through a tiny joint; another may admit water when submerged. Before choosing a test, define which direction a leak matters, what fluid the product must contain or exclude, and how much leakage is acceptable for its intended use. A test that finds a large opening may not reliably distinguish smaller leaks, while an extremely sensitive test may flag harmless material behavior.
The test setup matters as much as the instrument. Seals, fixtures and temporary connections can leak even when the product does not. Flexible walls can expand or relax during a test, changing the measured pressure without any actual leak. A useful procedure therefore specifies how the part is filled or sealed, how long it settles, and what result counts as a pass.
Pressure decay: measuring a change over time
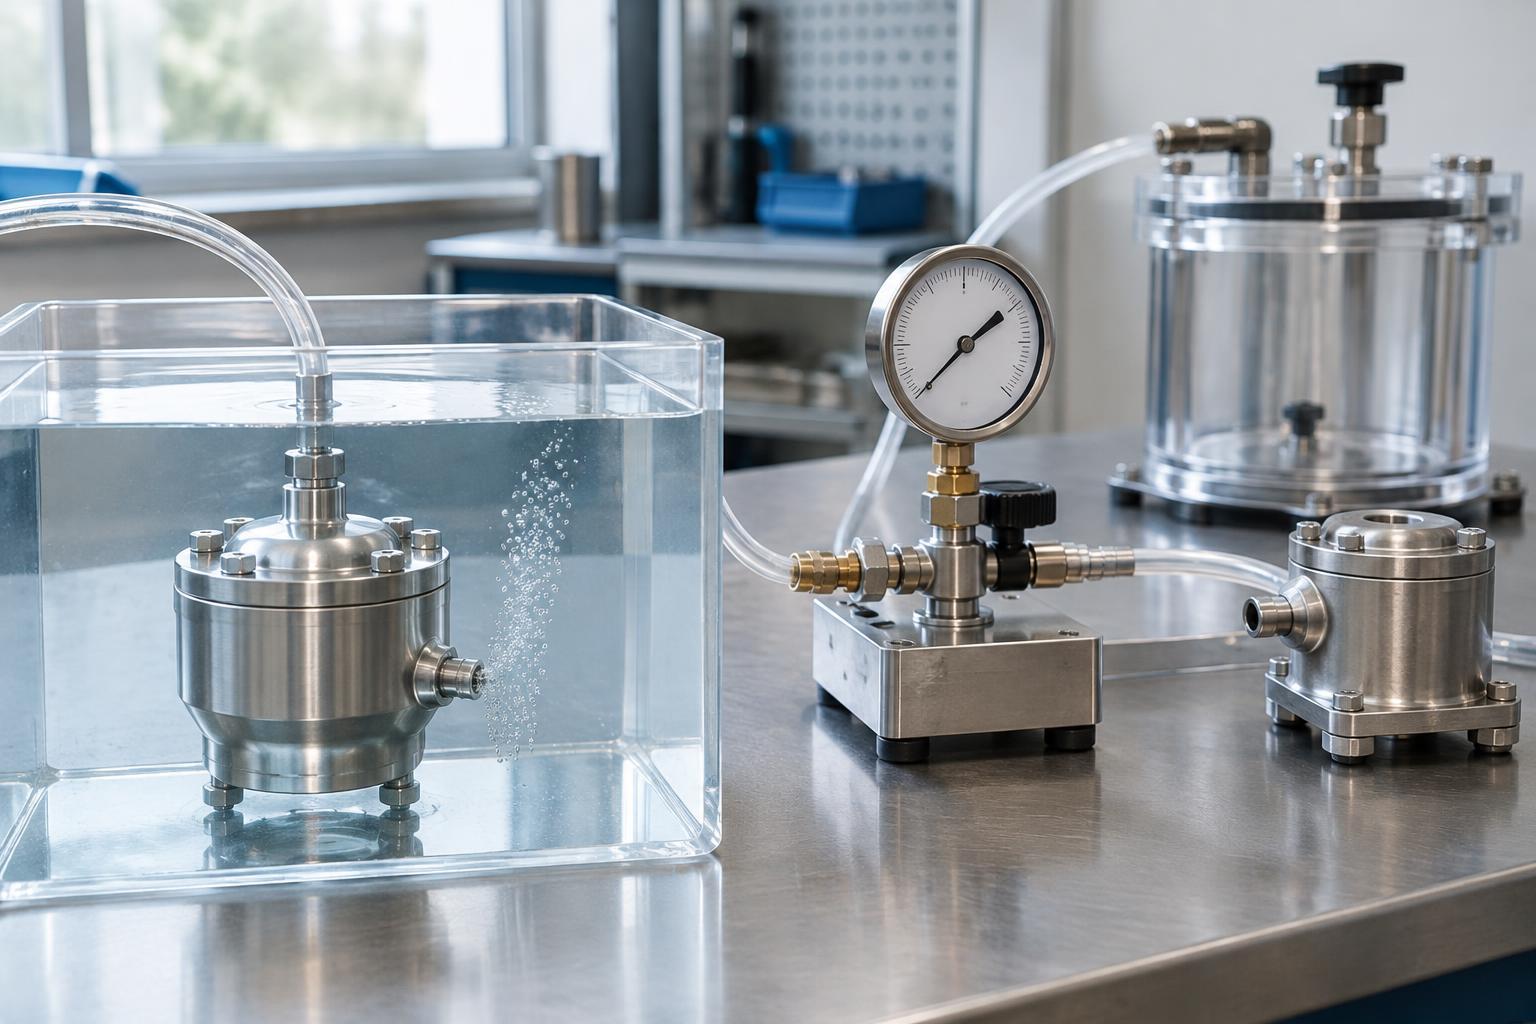
In a pressure-decay test, a part is filled with air or another suitable gas, isolated from the supply, and monitored. If gas escapes, pressure generally falls. The method can be automated and produces a numerical result, making it attractive for repeatable checks on production lines. It does not, by itself, show where a leak is located.
Pressure decay works best when the test volume and part behavior are consistent. Temperature shifts, compressed seals, expanding plastic walls and variations in trapped air can all affect the reading. Large internal volumes can make small leaks harder to detect in a short test. A typical procedure allows time for pressure and temperature to stabilize, then compares the observed change with a limit established for that product. The part and fixture must also be able to tolerate the chosen test pressure.
Bubble testing: seeing where gas escapes
For a bubble test, a gas-filled part can be submerged in liquid and watched for a stream of bubbles. Unlike pressure decay, this approach can reveal the approximate leak location, which is valuable when investigating a seam, fitting or weld. It is also relatively easy to understand: escaping gas forms visible bubbles.
Observation is the main limitation. Tiny or intermittent leaks may be hard to see, especially around complex shapes or trapped air on a surface. Immersion may be unsuitable for products that cannot get wet, and the liquid may need to be removed afterward. Test pressure, observation time and viewing conditions should be consistent. A single bubble clinging to the outside of a part is not necessarily evidence of a leak; a continuing stream from the same spot is more informative.
Vacuum methods: test from the other side
Vacuum testing is not one single procedure. In vacuum decay, a sealed chamber or a product cavity is evacuated and a pressure change is monitored. Depending on the setup, the test can reveal air entering an evacuated part or gas leaving a package into an evacuated chamber. Like pressure decay, it can provide a repeatable measurement without necessarily locating the defect.
A vacuum chamber can also be used for visual bubble testing. A package is placed under liquid, the chamber pressure is reduced, and gas escaping from the package may form visible bubbles. This can be useful for finding openings in some sealed packages, but results depend on the package contents, headspace and material behavior. Flexible packaging may swell or change shape under vacuum; porous materials may release gas without having a discrete hole. The method and pass criteria need to account for those effects.
Choose a method, then prove it works
Choose pressure decay when you need a measurable, repeatable check and can control part volume, temperature and fixture sealing. Choose immersion bubbles when finding the leak location is important and wetting the product is acceptable. Consider a vacuum method when the product is more meaningfully challenged by lower external pressure, or when its package and contents suit a chamber test. None is automatically best for every seal.
Before putting a method into routine use, try it with sound parts and with representative defects near the limit you care about. Check that the procedure consistently separates them, including after normal variations in handling and material. Confirm that the test itself does not damage or contaminate the product. Clear instructions for setup, stabilization, observation and retesting turn a promising demonstration into a dependable quality check.