What injection molding does
Injection molding is a way to make plastic parts by forcing softened material into a reusable mold. The mold contains a cavity shaped like the intended part. Once the plastic cools enough to hold its shape, the mold opens and the part is removed. The process is commonly used for items such as housings, caps, containers, and components that must fit together.
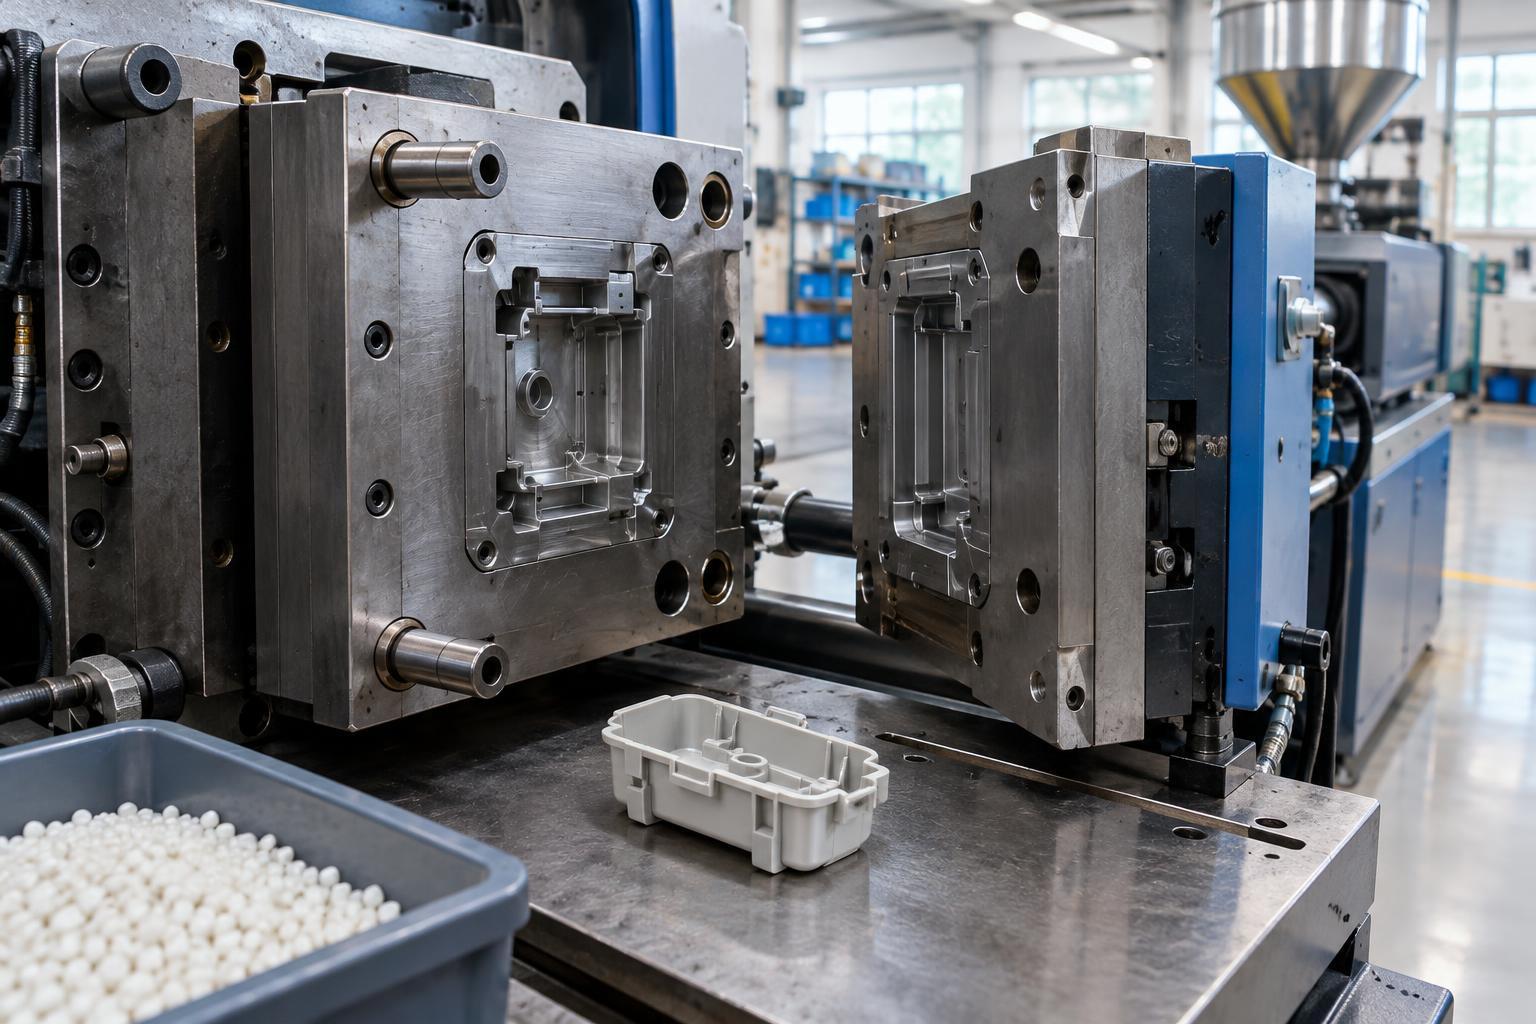
Most injection-molded products begin as small plastic pellets. A machine feeds the pellets into a heated barrel, where a rotating screw moves and melts them. The screw then pushes a measured amount of molten plastic through a nozzle and into the closed mold. After filling, the machine holds pressure briefly to help compensate for material shrinking as it cools.
The mold and the molding cycle
A typical mold has two main halves that meet along a parting line. During filling, the machine clamps them together against the pressure of the incoming plastic. Channels guide the melt from the machine to an opening called a gate, where it enters the part cavity. Some molds form one part per cycle; others contain multiple cavities. More complex molds can use moving components to form features that could not otherwise be released.
Cooling often takes place through channels inside the mold that carry temperature-controlled fluid. When the part is firm enough to remove, the halves separate and ejector pins or another release mechanism push it out. The mold closes, and the cycle repeats. A finished part may still need its gate connection trimmed or other finishing work. Cycle time depends on factors including part thickness, material, mold temperature, and how quickly the part can be ejected without damage.
Why part design matters
A mold can reproduce a detailed shape, but the plastic must be able to flow into that shape and the solid part must be able to come out. Designers often aim for reasonably consistent wall thickness. A thick section cools more slowly than a thin one and may leave a visible depression, called a sink mark, as the material contracts. An abrupt change in thickness can also make filling and cooling less predictable.
Slightly angled walls, known as draft, help a part release from the mold. Ribs can add stiffness without making an entire wall thick, although their dimensions and placement still need care. Designers also choose where a gate enters the part and where the parting line falls. Those choices affect how the cavity fills and where small marks may remain. A feature that catches behind the mold as it opens, called an undercut, may require extra mold movement or a change to the part design.
Tooling, materials, and production volume
The reusable mold is often called tooling. Making it requires planning the part cavity, flow paths, cooling, and ejection, then machining and fitting the components. That preparation can be substantial compared with forming a single part. Once a mold is working well, however, it can produce many similar parts through repeated cycles. This trade-off makes expected production volume an important consideration when choosing a process.
Material selection affects both the finished product and the molding setup. Different plastics vary in flexibility, toughness, appearance, heat response, and how they shrink after filling. A material suitable for a flexible lid may not suit a rigid enclosure. Colorants and other additives can change appearance or performance, but they may also affect processing. Rather than treating “plastic” as one material, teams need to match a specific grade to the part’s intended use and test it in the chosen mold.
Checking parts and improving the process
A repeatable cycle does not guarantee perfect parts. Manufacturers check dimensions, fit, surface appearance, and whether the part performs as intended. Common clues to a process or design problem include incomplete filling, excess plastic at the mold seam, warping, sink marks, and visible lines where separate flows of plastic meet. Each clue has several possible causes, so adjustments should be based on the part, material, mold, and machine settings together.
Injection molding works best when product design and production planning happen together. An early discussion about wall thickness, gate location, release from the mold, and inspection points can prevent difficult changes after tooling is built. The basic sequence—melt, fill, cool, eject—may be straightforward, but dependable results come from coordinating the plastic, the part geometry, and the reusable mold.