Start with the requirements, not a checklist
An inspection plan connects what a product must do with evidence that it was made as intended. A useful starting point is the approved set of drawings, specifications, material requirements, packaging instructions and customer agreements. Collect the current versions and resolve conflicts before writing checks. If one document calls a surface “smooth” and another permits visible marks, an inspector cannot make a consistent decision until the requirement is clarified.
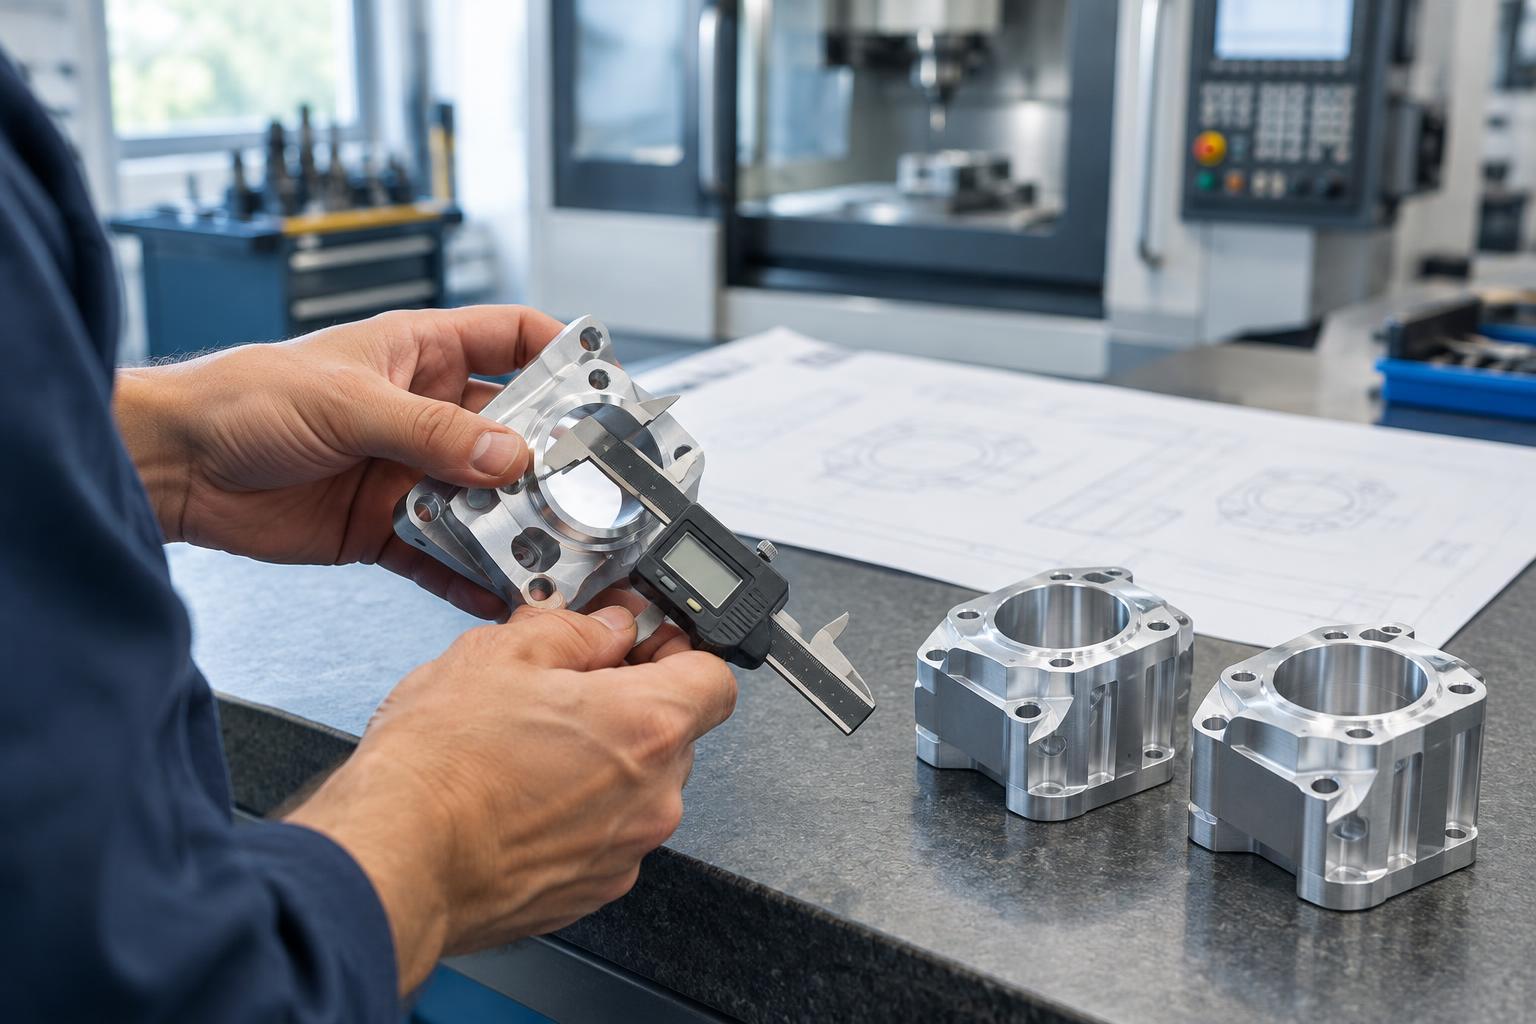
Turn each requirement into a characteristic that can be observed or measured. A dimension becomes a measurement with a defined location. A material requirement may become a check of identification or traceability records, rather than a visual judgment. An appearance requirement needs a description of which surfaces matter, what defects are unacceptable and the conditions under which they should be viewed. Avoid adding tests simply because equipment is available: every check should serve a requirement or a known production risk.
Define what passing means
For each characteristic, record a clear acceptance criterion. This might be a dimensional range, a required feature, an approved reference sample or a documented functional result. Write down the units and any relevant conditions, such as whether a part is measured before or after assembly. Terms like “good fit” or “clean finish” can be useful design goals, but they are difficult inspection criteria unless the team agrees on how to judge them.
Separate the requirement from the inspection method. For example, a requirement may say that a lid must close securely; the plan must explain how the inspector will check closure and what outcome counts as a pass. If a check cannot reliably distinguish acceptable from unacceptable products, refine the method or clarify the requirement. Where interpretation is unavoidable, reference examples and brief instructions can help inspectors make more consistent decisions.
Choose methods and inspection points
Match each check to a suitable tool or process: visual examination, a gauge, a measurement, a functional test or a review of records. The method should be practical at the point where the check occurs and precise enough for the decision it supports. Include any setup details that matter, such as where to place a measuring tool or how to position a product during a test. If the equipment needs calibration or a routine condition check, make that responsibility clear.
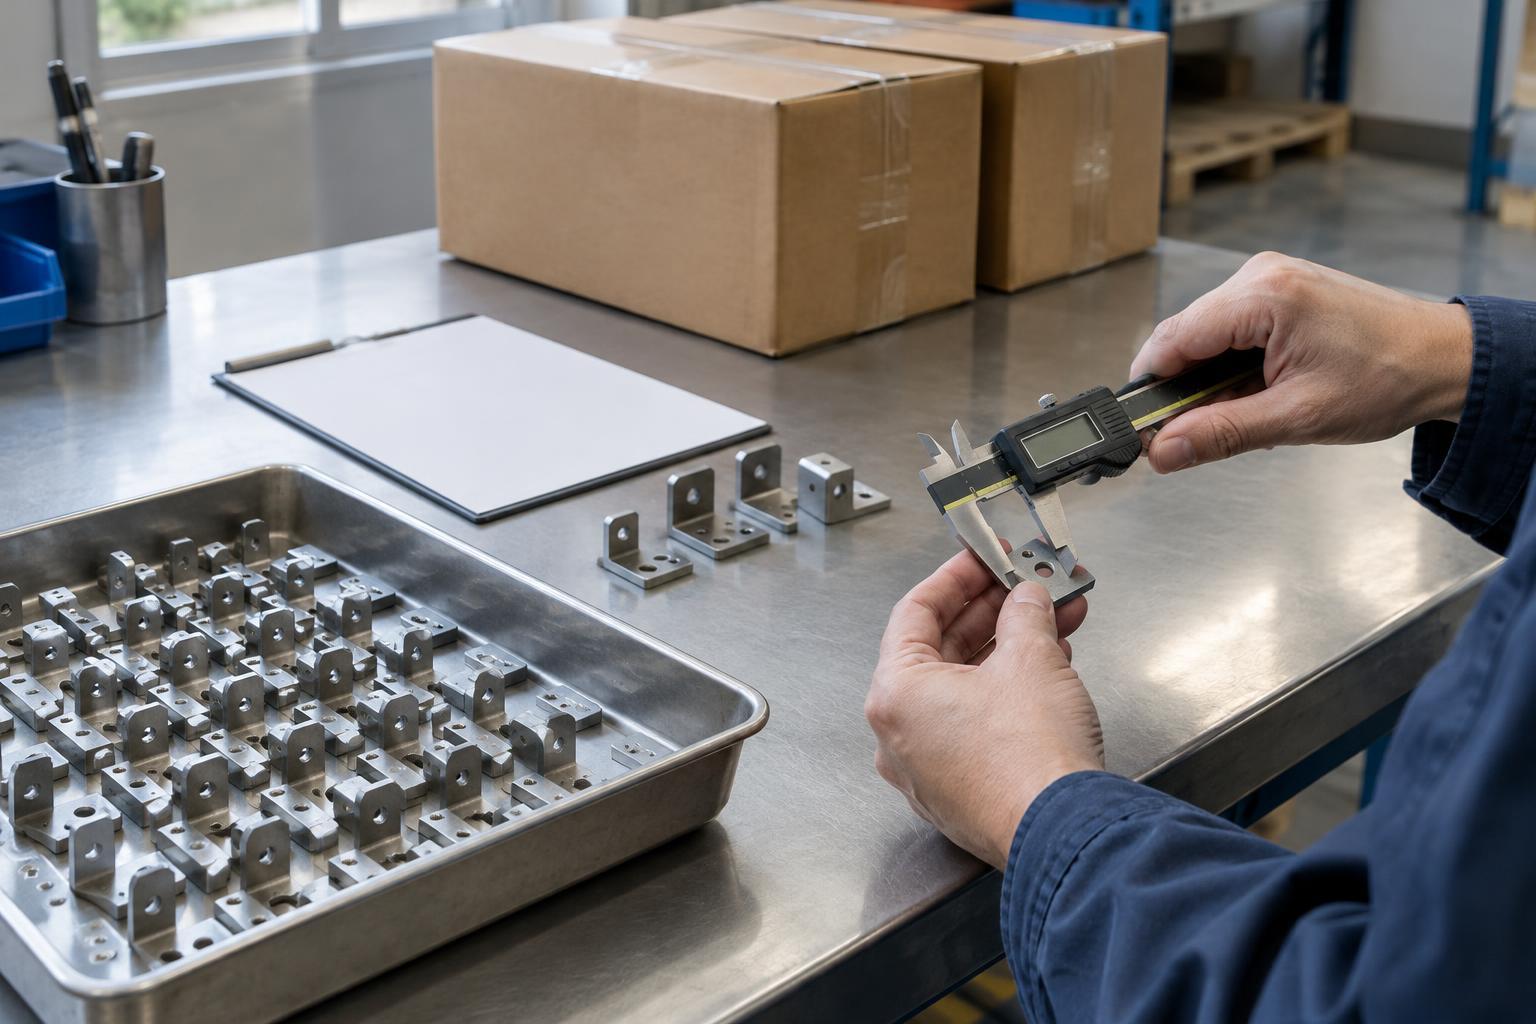
Decide when each characteristic should be checked. Incoming inspection can catch problems with purchased parts before they enter production. In-process checks can reveal an issue before many more units are made. Final inspection can confirm the completed product and its packaging meet release requirements. Some characteristics deserve checks at more than one point; others become inaccessible after assembly, making an earlier check essential. The aim is not to inspect everything repeatedly, but to find problems while they can still be contained.
Set the inspection extent and response
An inspection plan also states how many units or lots to check. Checking every unit may be appropriate for a quick, important functional check, but it can be impractical or impossible for a destructive test. Sampling can reduce effort, yet it does not prove that every uninspected unit passes. Choose the extent of inspection with the severity of a possible defect, process stability, production volume and cost of a missed issue in mind. Document how samples will be selected so they are not chosen only from the easiest units to reach.
Before inspection begins, decide what happens when a check fails. The plan should identify who is notified, how affected material is identified and held, and who has authority to decide its disposition. It should also say whether earlier units or nearby production need review. A failed result should not quietly become a passing result through repeated measurement without an agreed procedure; investigate whether the product, the method or the equipment caused the discrepancy.
Make the plan usable and keep it current
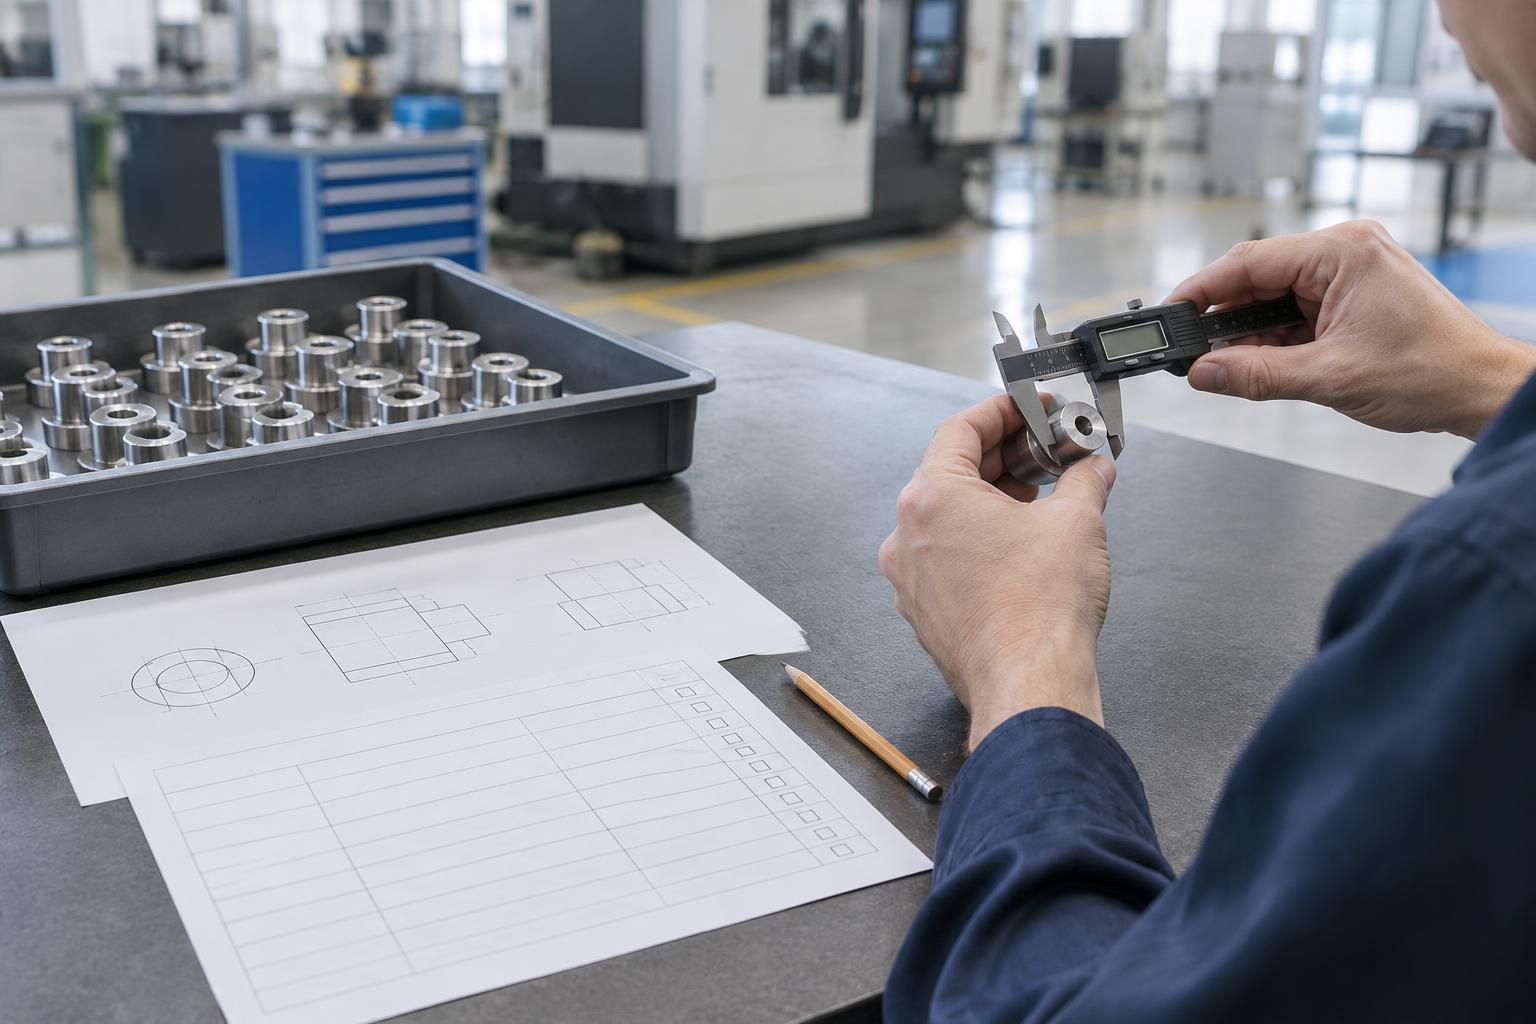
Put the essentials in a format inspectors can follow at the worksite: product and revision, characteristic, acceptance criterion, method, inspection point, frequency, record and response to failure. A short worked example or reference image may be more useful than a long instruction for a visual or orientation check. Try the draft plan with someone who did not write it. If they cannot locate the feature, perform the check or record the result without guessing, the plan needs more detail.
Finally, link the plan to change control. A revised drawing, new supplier, different manufacturing process or recurring defect may change what needs checking and when. Review inspection results for patterns, then adjust checks where they provide useful evidence. The goal is a plan that helps the team make consistent decisions and learn from production, not a document that stays unchanged after the product evolves.