The basic distinction
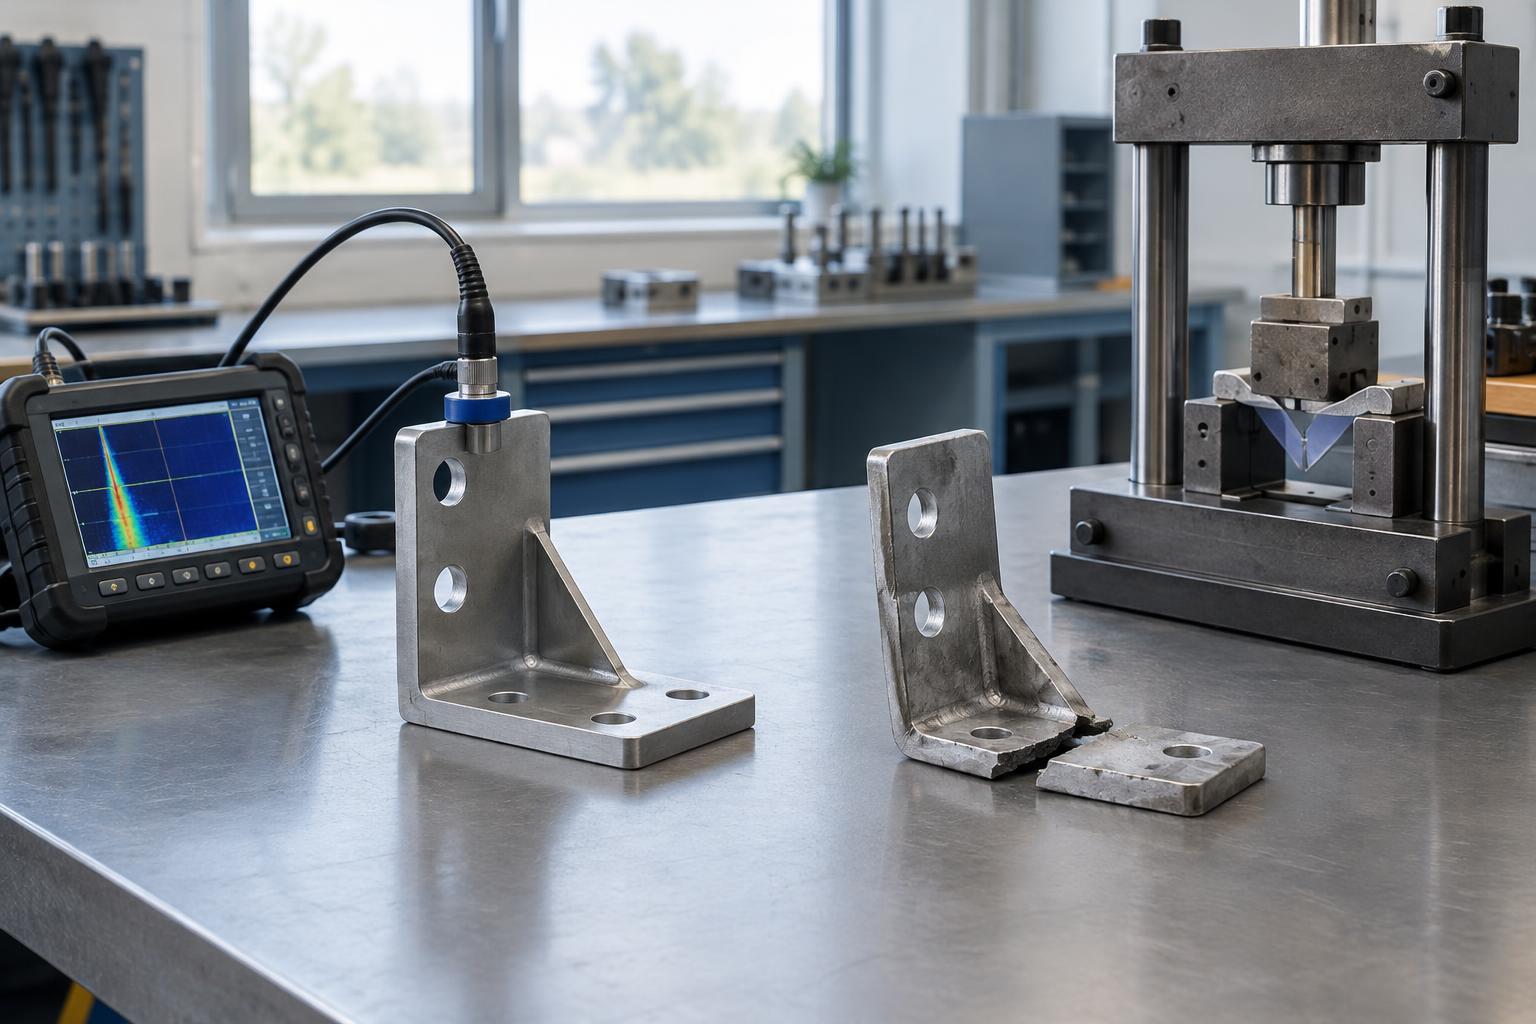
A manufacturer can examine a part without making it unusable, or test it until it is damaged, altered or broken. The first approach is nondestructive testing; the second is destructive testing. Both can answer useful questions, but they do not answer the same questions. Looking for an internal crack is different from measuring the force needed to break a component.
The distinction is not always as simple as whether a part looks intact afterward. A test may leave a part visibly unchanged but expose it to conditions that make it unsuitable for sale. Another test may remove a small sample from a larger piece of material while leaving the remainder usable. Before choosing a method, define what must be learned and what condition the tested item must be in afterward.
What nondestructive tests can reveal
Nondestructive methods are useful when a part must remain available for assembly, shipment or later testing. A visual examination can reveal surface damage, poor fit or missing features. Depending on the material and part geometry, other methods may help locate discontinuities beneath the surface or check whether a feature has the expected dimensions. The right method depends on which defect matters and where it might occur.
A passing result has a limited meaning: the test did not find an unacceptable condition under its chosen settings and acceptance rules. It does not prove that the part has no defects. A method may be unable to detect a flaw that is too small, poorly oriented or hidden by the part’s shape. Operators also need clear instructions for preparing the part, conducting the examination and recording what they found.
Why some questions require damage
Destructive tests are often used when the important question is how a product behaves under a load or condition that could ruin it. Breaking a joint can reveal its failure mode as well as the load it withstands. Cutting through an assembly may expose an internal feature that cannot be evaluated clearly from the outside. Such tests can help a team investigate a design, compare materials or check whether a production process produces the intended result.
The cost is that the tested item may no longer be saleable. Destructive results also describe the items actually tested, not every item made alongside them. If samples are selected only from convenient locations or unusually good runs, they may give a misleading impression. A useful test plan therefore states which items will be sampled, when they will be taken and how their results will be interpreted.
Using the two approaches together
The approaches often complement each other. A team might examine every critical part for an observable defect while periodically sacrificing samples to check a property that cannot be measured on a finished part without damage. During product development, a destructive test can reveal a failure mode; a suitable nondestructive check may then help screen production parts for a related condition. That connection should be demonstrated rather than assumed.
For example, a surface examination might find a visible flaw in a bonded joint, while a break test measures how a sampled joint performs under load. A clean appearance alone does not establish joint strength, and one strong sample does not establish that every joint is free of visible defects. Treating the results as separate pieces of evidence makes both tests more useful.
Make the result actionable
Start with a specific decision: will the test release an item, evaluate a batch, compare a design change or investigate a failure? Then identify the property or defect of interest and choose a method capable of detecting a meaningful difference. Define the test conditions, acceptance criteria and response to a failed result before testing begins. Otherwise, a number or a pass label may be difficult to act on.
Keep enough context with each result to understand what was tested: part identity, production batch where relevant, method, settings and observations. When results disagree, resist treating one method as automatically correct. Check whether the tests measured different properties, whether the samples were comparable and whether the procedures were followed. The goal is not simply to perform more tests; it is to gather evidence that supports a clear manufacturing decision.