Start with the water the product will actually meet
A handheld device used in rain faces a different problem from a box mounted outdoors or a product that may be rinsed during cleaning. Before drawing a seam, identify the likely sources of water, the directions it can travel, and the positions in which the product will be used and stored. Water may run down a vertical face, collect on a horizontal ledge, or reach a joint from below when a product is set on a wet surface.
Then identify what must stay dry. An enclosure can sometimes tolerate water in an outer cavity if that water cannot reach electronics, bearings, adhesives or other sensitive features and has a reliable way out. This distinction helps the design team decide which boundaries need a seal and which areas should shed and drain water. It also prevents an attractive outer shell from being mistaken for the product’s only line of defense.
Place and shape seams to discourage entry
A seam across the top of an enclosure is exposed to falling water and may hold droplets if its edges form a shallow channel. Where the product layout allows, place joints away from surfaces that receive direct spray or standing water. Avoid recesses that lead water toward fasteners, openings or gasket ends. A smooth exterior can help water move past a joint, but the path it takes should be considered in every expected orientation.
An overlapping joint gives water a less direct route into the enclosure than two flat edges meeting at the exterior surface. A lip, step or labyrinth can make a droplet turn before it reaches the interior. These features are not automatically watertight: small gaps may draw water along them, and molding variation or assembly misalignment can change the route. Sketch the cross-section of each important seam and trace where water could travel, including along the underside of an overlap.
Treat gaskets as a controlled system
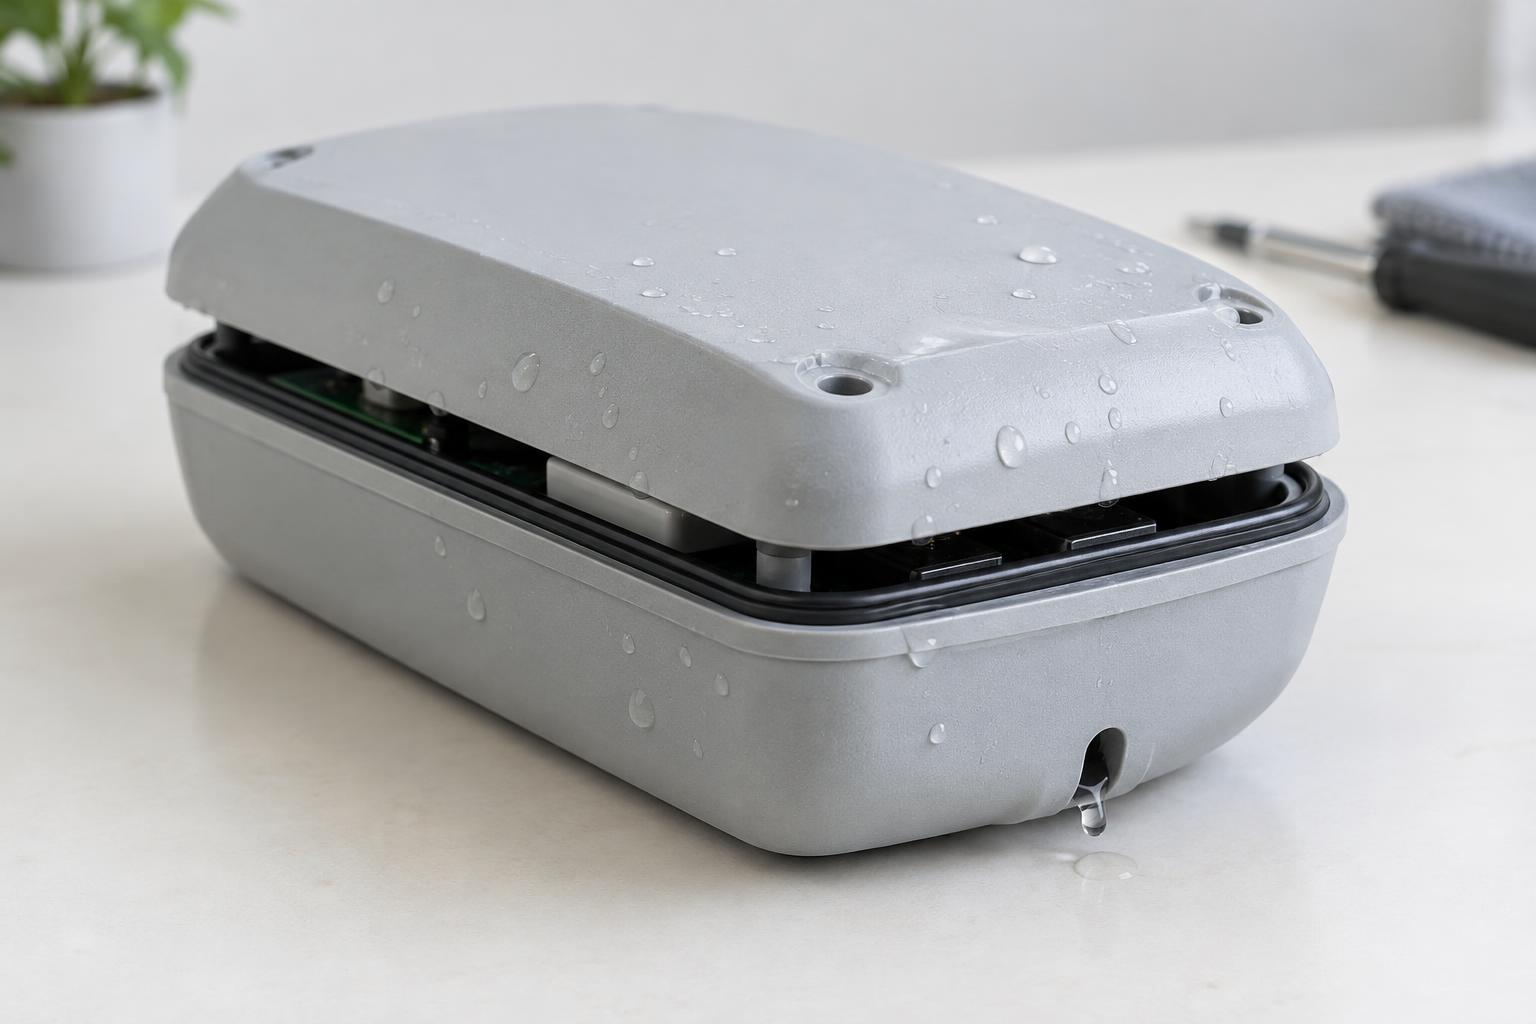
A gasket can close a joint that enclosure geometry alone cannot protect, but its performance depends on the surrounding parts. The sealing surface should be continuous and free of interruptions that prevent contact. The enclosure must locate the gasket and compress it sufficiently without cutting it, pushing it out of place or leaving one side barely in contact. Fastener locations, wall stiffness and the assembly sequence all affect how evenly that compression is maintained.
Pay particular attention to corners, cable exits and the point where a gasket’s ends meet. These are easy places for an otherwise continuous seal to become discontinuous. A screw passing through a sealed boundary also creates a potential water path of its own. Rather than assuming one perimeter gasket solves every opening, list each penetration and decide how it will be protected. If a product must release pressure or heat through an opening, that requirement needs its own design solution.
Give incidental water a safe way out
Water resistance does not always mean trapping every drop outside the outer shell. If water can enter a noncritical cavity, a drain may keep it from pooling against a seam or sensitive component. Place the drain at a low point in the product’s intended orientation and shape nearby surfaces so water can reach it. Consider whether the product may be laid on its side, mounted at an angle or turned over during handling; a drain that works in one position may collect water in another.
A drainage opening is also an entry opening. Its location should limit direct splash toward the protected interior, and the cavity it serves should be separated from areas that must remain dry. Narrow channels may be obstructed by dirt or manufacturing residue, so make drainage paths accessible enough to inspect and clean where practical. The goal is not merely to add a hole, but to provide a route from likely collection points to the outside without crossing a protected boundary.
Verify the assembled product, not just the drawing
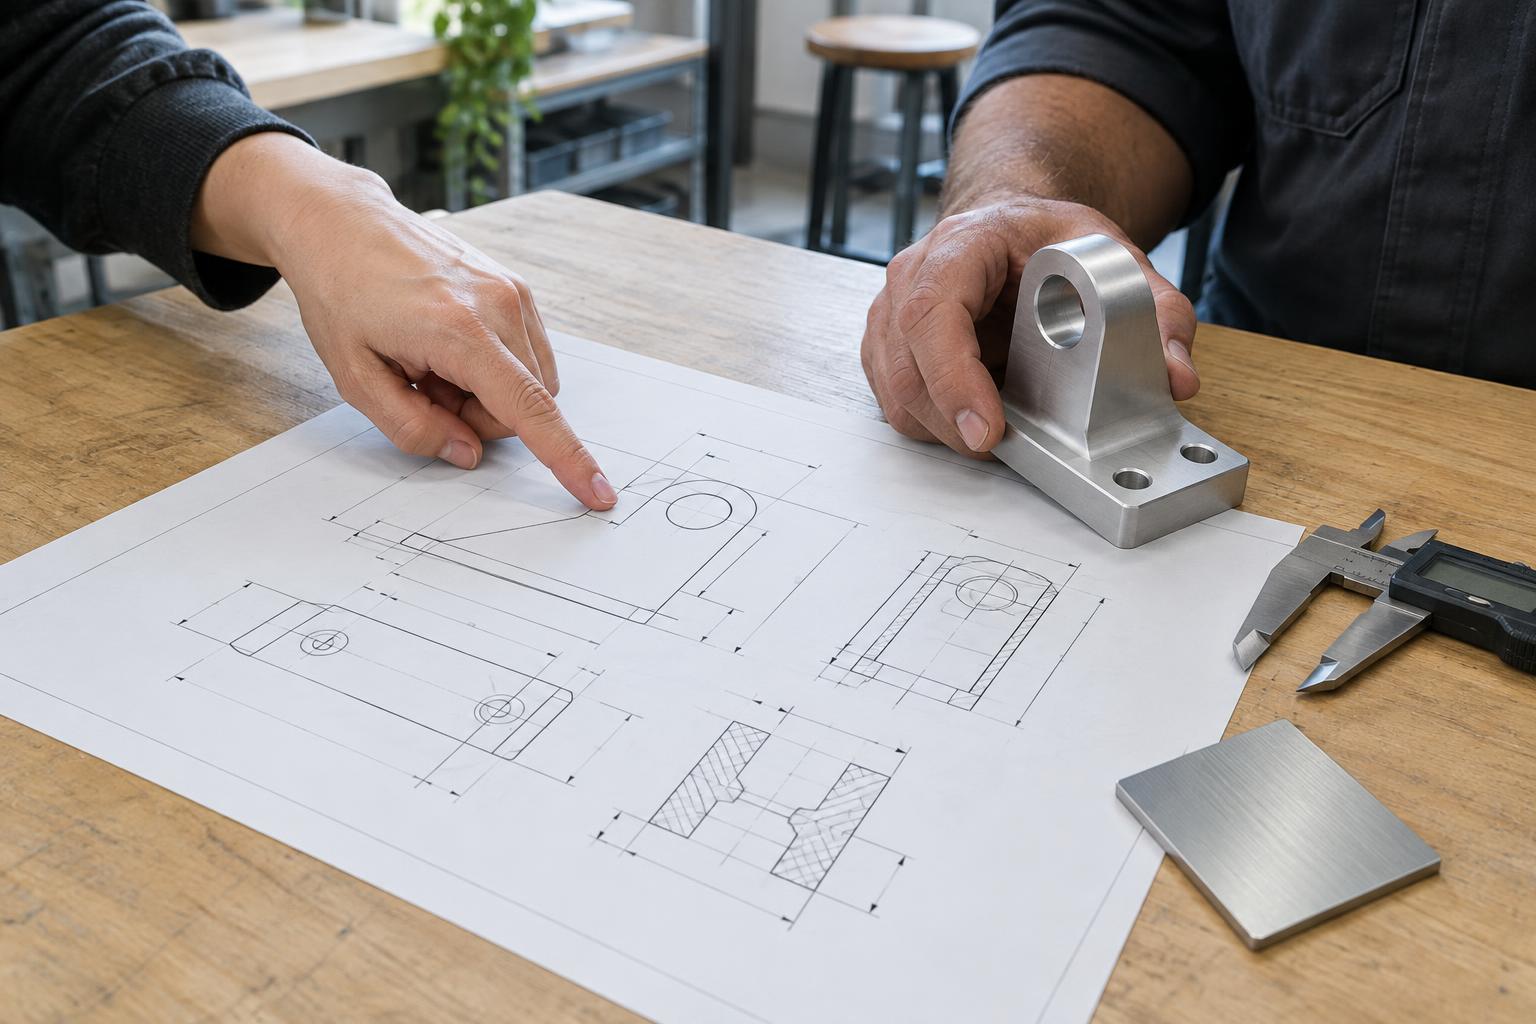
A section drawing can show a plausible seal while a real enclosure bends, varies in size or is assembled imperfectly. Build representative samples and check gasket position, seam alignment and drainage before evaluating water exposure. Try the product in its expected mounting and storage positions, and look for water left behind after exposure. Inspection after disassembly can reveal whether moisture stopped at the intended boundary or followed an unexpected path.
Testing should reflect the product’s stated use rather than an arbitrary demonstration. Rain, splashes and cleaning can expose different parts of an enclosure, while repeated opening and closing may change a gasket’s seating. Record what happened, adjust the seam or drainage path, and test again. This approach turns water resistance from a vague promise into a set of specific design choices that can be checked on the finished assembly.