Start with a brief that defines the problem
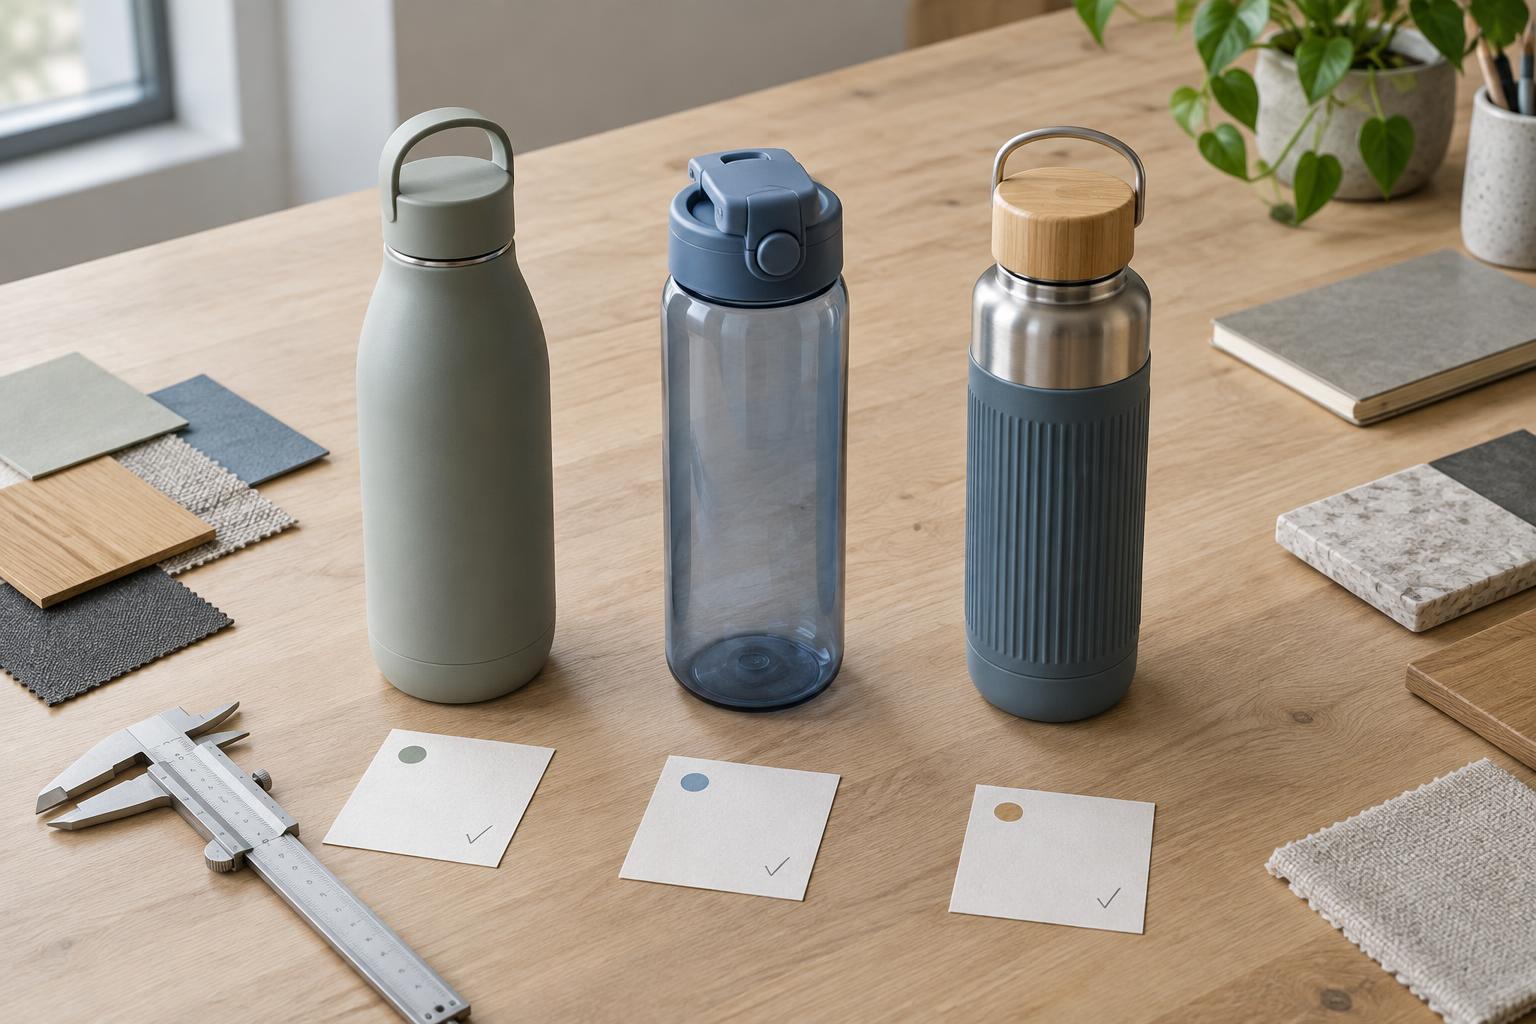
A product design project begins with a question: what should the product help someone do? An initial brief turns that question into a shared starting point. It identifies the intended users, the setting in which they will use the product, the functions it must perform and the constraints the team already knows about. A useful brief describes the problem without dictating every detail of the solution.
Constraints may include a target cost, expected production volume, size, weight, appearance, durability, packaging or compatibility with other products. Some are firm requirements; others are preferences that can be traded against competing goals. Separating the two makes later decisions easier. If a product must fit an existing shelf space, for example, that dimension should not be treated like a color preference.
The brief should also say how the team will judge success. Criteria such as ease of assembly or resistance to everyday wear are more useful when paired with a way to assess them. Early conversations with people who will use, make, pack or maintain the product can expose needs that a list of features misses. The brief can change as the team learns, but recording revisions helps everyone work from the same assumptions.
Explore concepts before committing to one
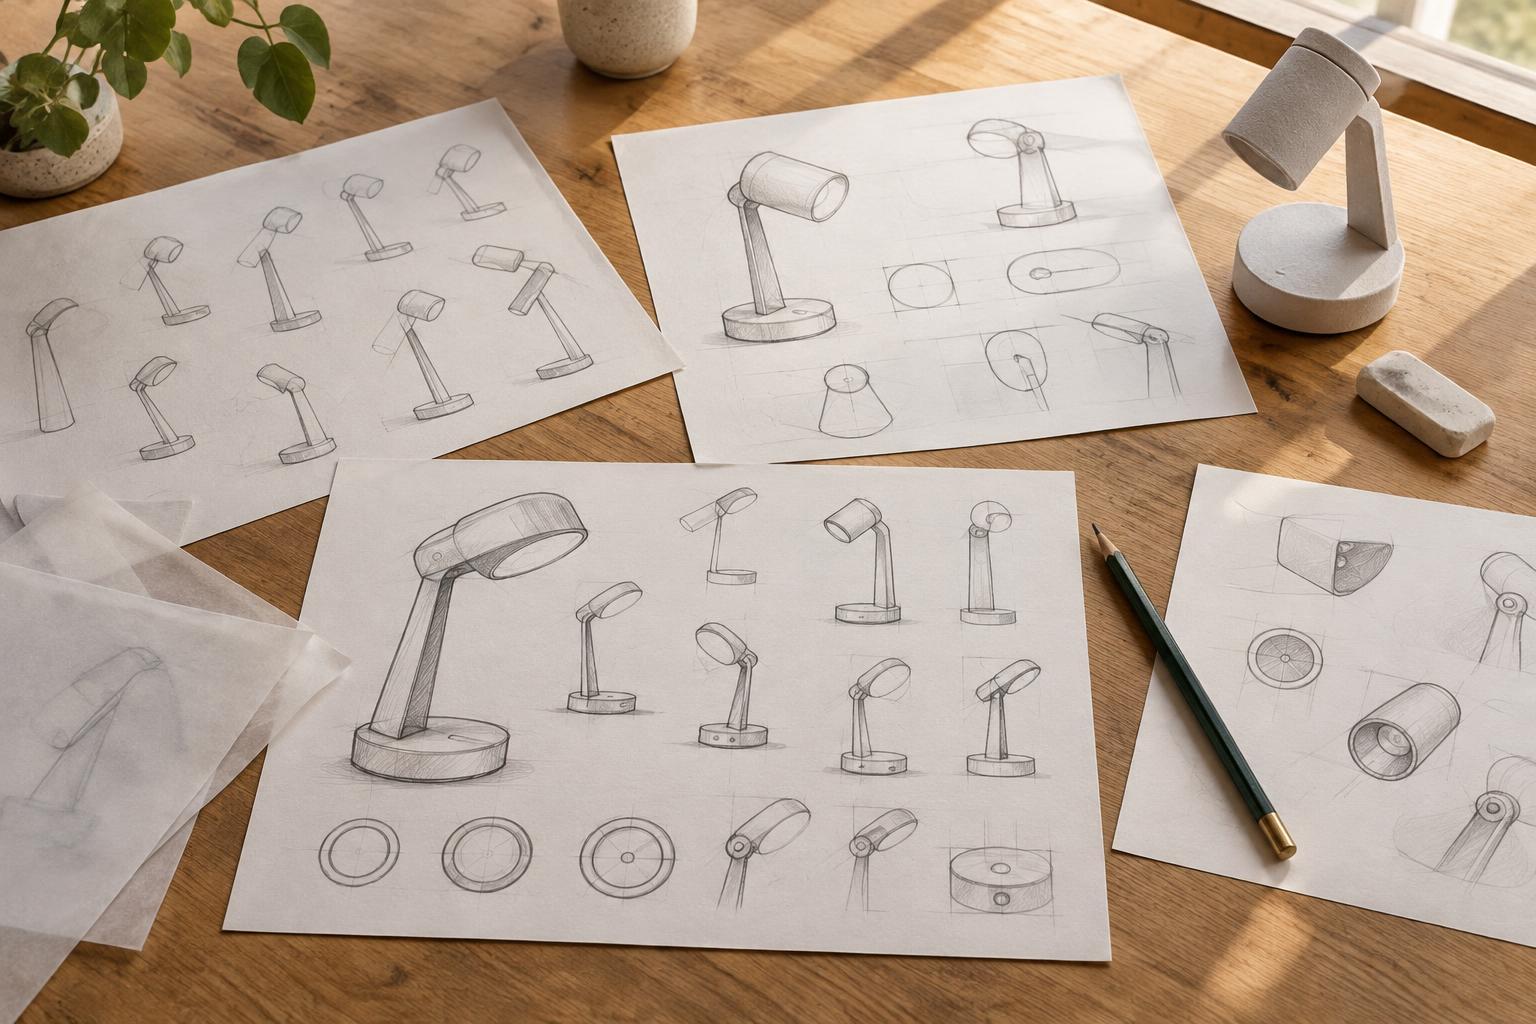
With the brief in place, designers can develop several ways to solve the problem. Sketches, simple models and rough layouts help the team compare forms, mechanisms and user interactions without investing too heavily in a single idea. At this stage, the aim is not polished presentation. It is to discover which approaches deserve closer examination.
Concepts should be compared against the brief and against one another. A design that looks simple from the outside may require many internal parts; another may be easier to assemble but awkward to use. Material choices also begin to matter here. Strength, flexibility, surface finish and available manufacturing processes can all affect the shape a product can reasonably take.
Choosing a direction does not mean treating it as final. The team can combine useful features from different concepts and note the questions that remain unresolved. A short record of why a concept was selected is valuable later, particularly if testing reveals a problem and an earlier option becomes worth revisiting.
Use prototypes to answer specific questions
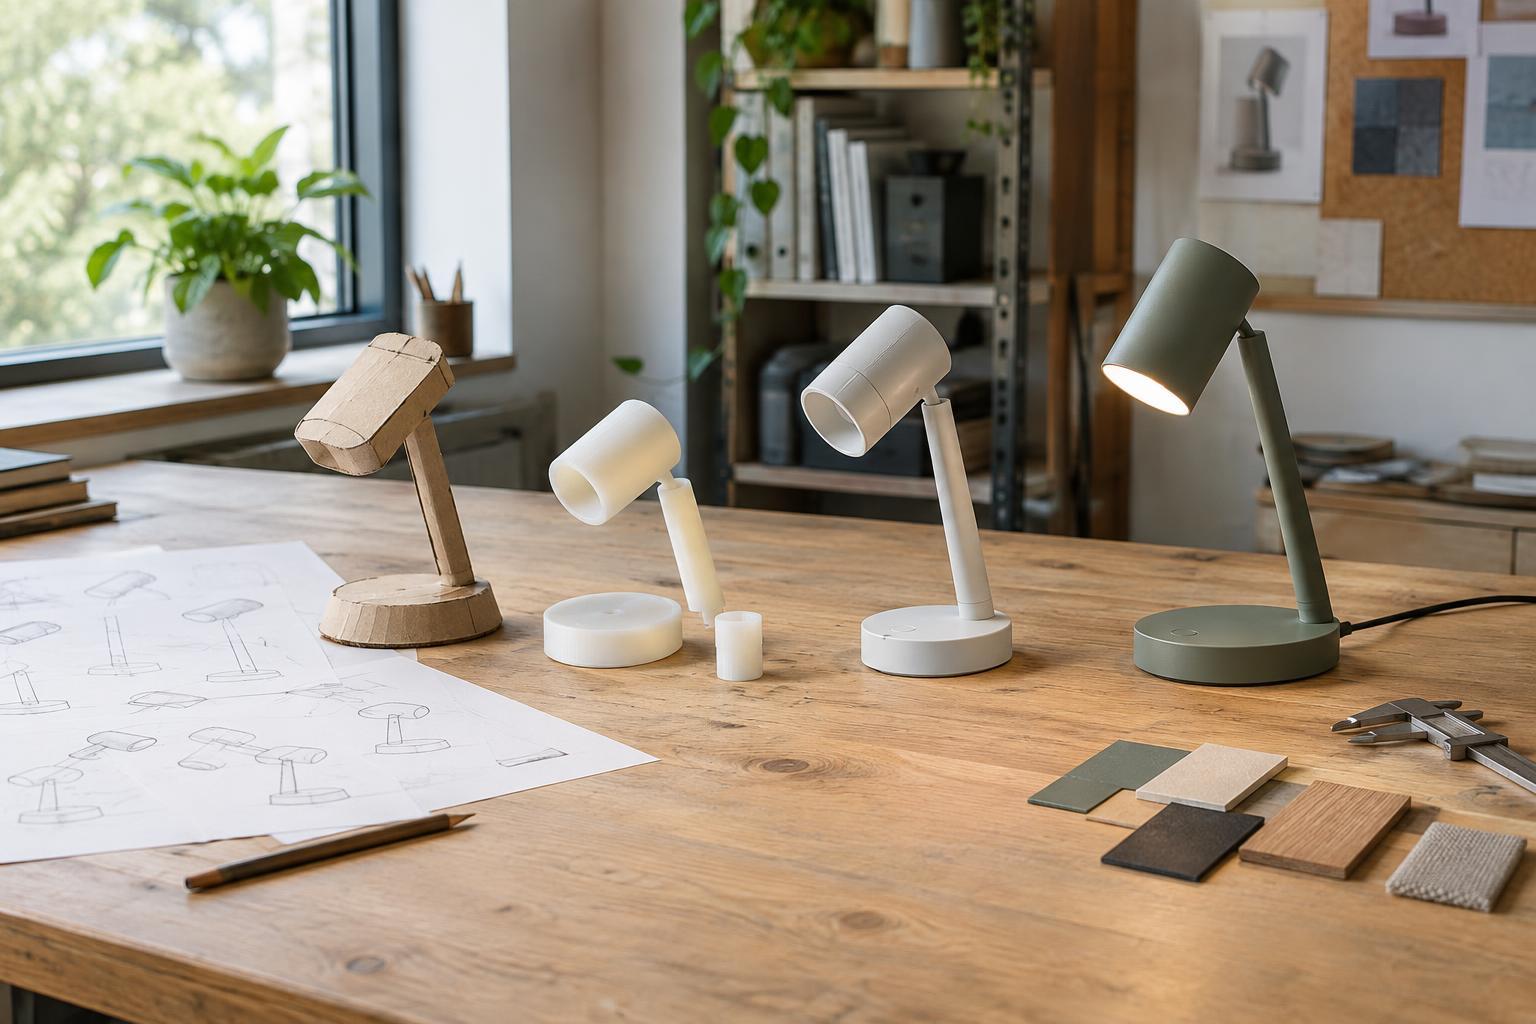
Prototypes make ideas easier to evaluate, but they need not all resemble the finished product. A cardboard model may reveal whether a handle feels accessible. A printed or machined part may help check fit. A working assembly may show whether a mechanism behaves as expected. The appropriate prototype depends on the question being asked.
Testing is most useful when the team states that question in advance and observes what happens. Can a person identify the correct way to hold the product? Can two parts be assembled without excessive force? Does the package protect the product while remaining practical to open? Feedback can come from users, manufacturing partners and colleagues responsible for quality or logistics, each of whom may notice different issues.
A prototype made by one process will not necessarily predict the behavior of a production part made by another. Differences in material, surface finish or dimensional variation may matter. The team should record what each test demonstrates, what it does not demonstrate and which changes it prompts. Repeated cycles of building and testing gradually replace assumptions with more dependable design decisions.
Check the design against production realities
As a concept matures, attention shifts toward how it will be made consistently. Designers and manufacturing specialists can review part shapes, material availability, tooling needs, assembly steps and opportunities to reduce unnecessary complexity. A feature that works in a prototype may be difficult to produce reliably at the intended volume. Finding that out before committing to tooling or suppliers leaves more room to adjust.
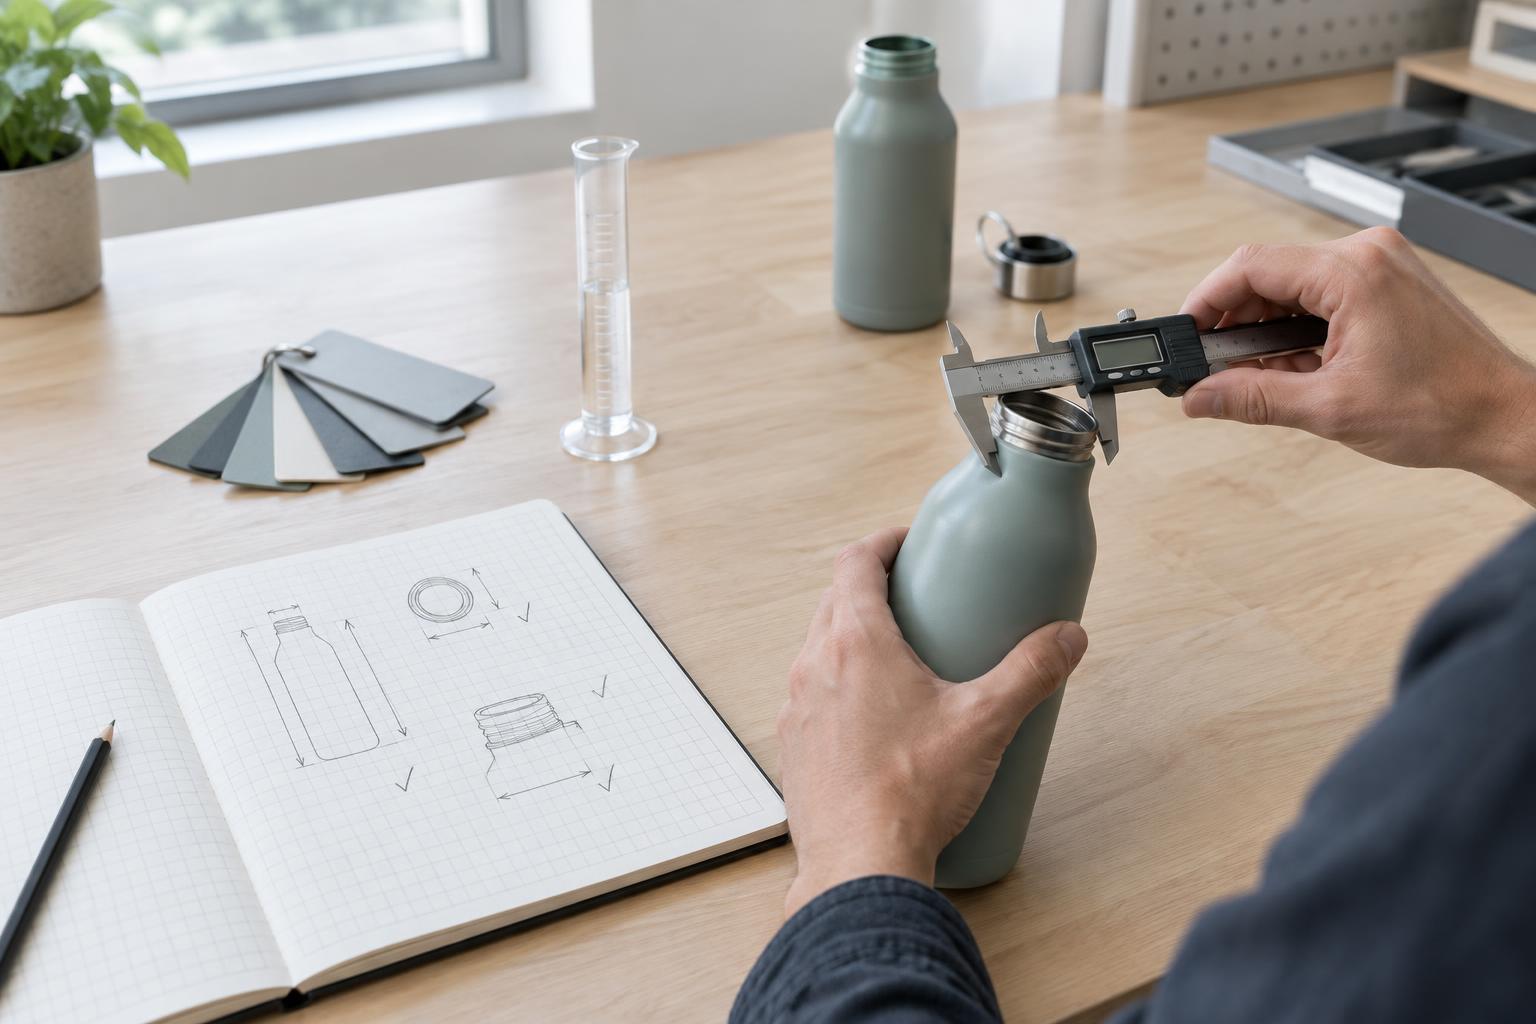
Fit between parts deserves particular care. Dimensions on a drawing describe intended sizes, while tolerances describe acceptable variation. Those limits need to reflect both the product’s function and the capabilities of the chosen process. Overly tight tolerances can add difficulty without improving performance; overly loose ones can cause poor fit or inconsistent operation. The same review should consider how the product will be inspected, packed, transported and, where relevant, repaired.
These checks are not separate from design. A change to a wall thickness, fastener or material may affect appearance and user experience as well as production. Reviewing such trade-offs together helps avoid a handoff in which a manufacturer is expected to solve unresolved design problems without knowing the original intent.
Prepare a clear production handoff
A production-ready design is more than an attractive model or a working sample. The handoff should give the people making and checking the product a clear account of what to produce. Depending on the product, that may include approved drawings or digital models, material and finish specifications, a parts list, assembly instructions, packaging requirements and agreed methods for checking important features.
Before release, the team should confirm that the latest documents match the approved design and that open questions have owners. A pilot build or small initial run can help reveal issues that were not apparent in prototypes, particularly in assembly and inspection. Changes made afterward should be recorded so that future builds use the correct version.
The process is rarely a straight line from brief to finished product. Testing may send a team back to a concept, and a production review may reshape a detail that seemed settled. What matters is that each stage reduces uncertainty and leaves a clear reason for the next decision. That is how a promising idea becomes a design others can make repeatedly.