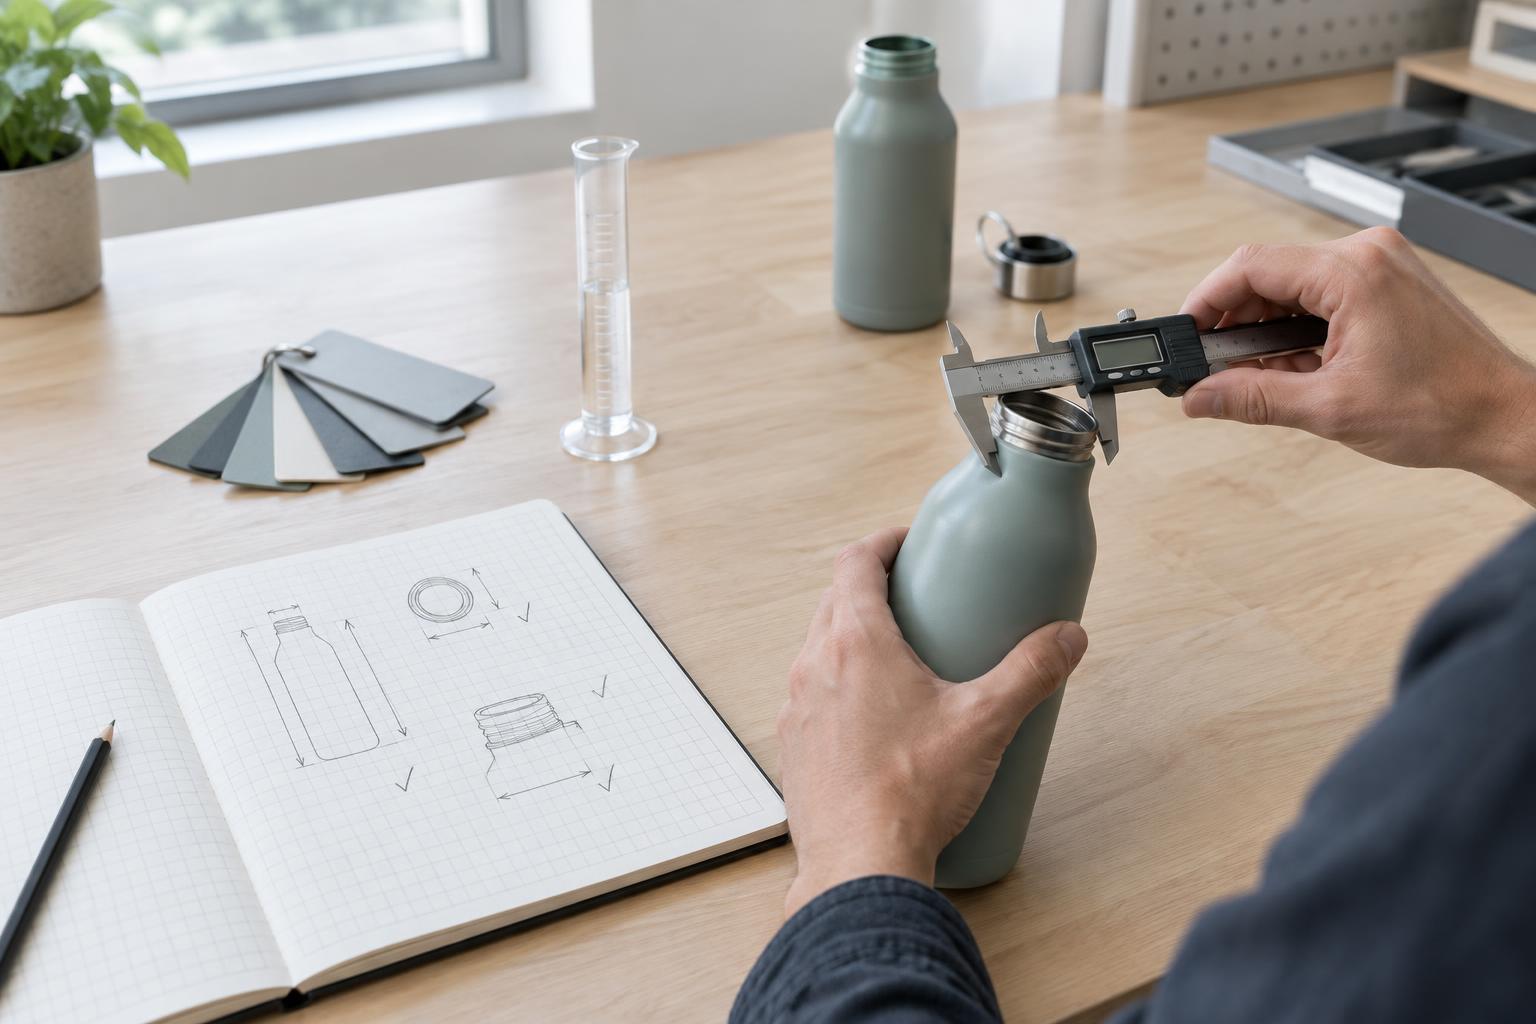
Start with a question, not a finished shape
A concept sketch is a thinking tool, not a miniature presentation drawing. Its job is to make an idea visible enough to examine and change. Before drawing, write down what the product needs to do, who will use it and what remains uncertain. For a handheld object, the first question might be how it is gripped. For something stored on a shelf, it might be how it stands, stacks or fits beside other objects.
Keep these questions near the page as prompts rather than treating them as fixed specifications. A sketch can investigate one question at a time: Could the handle move? Does the lid need to open with one hand? Where would a seam make sense? This approach makes even rough drawings useful, because each one tests a possibility instead of merely decorating an idea.
Generate variations quickly
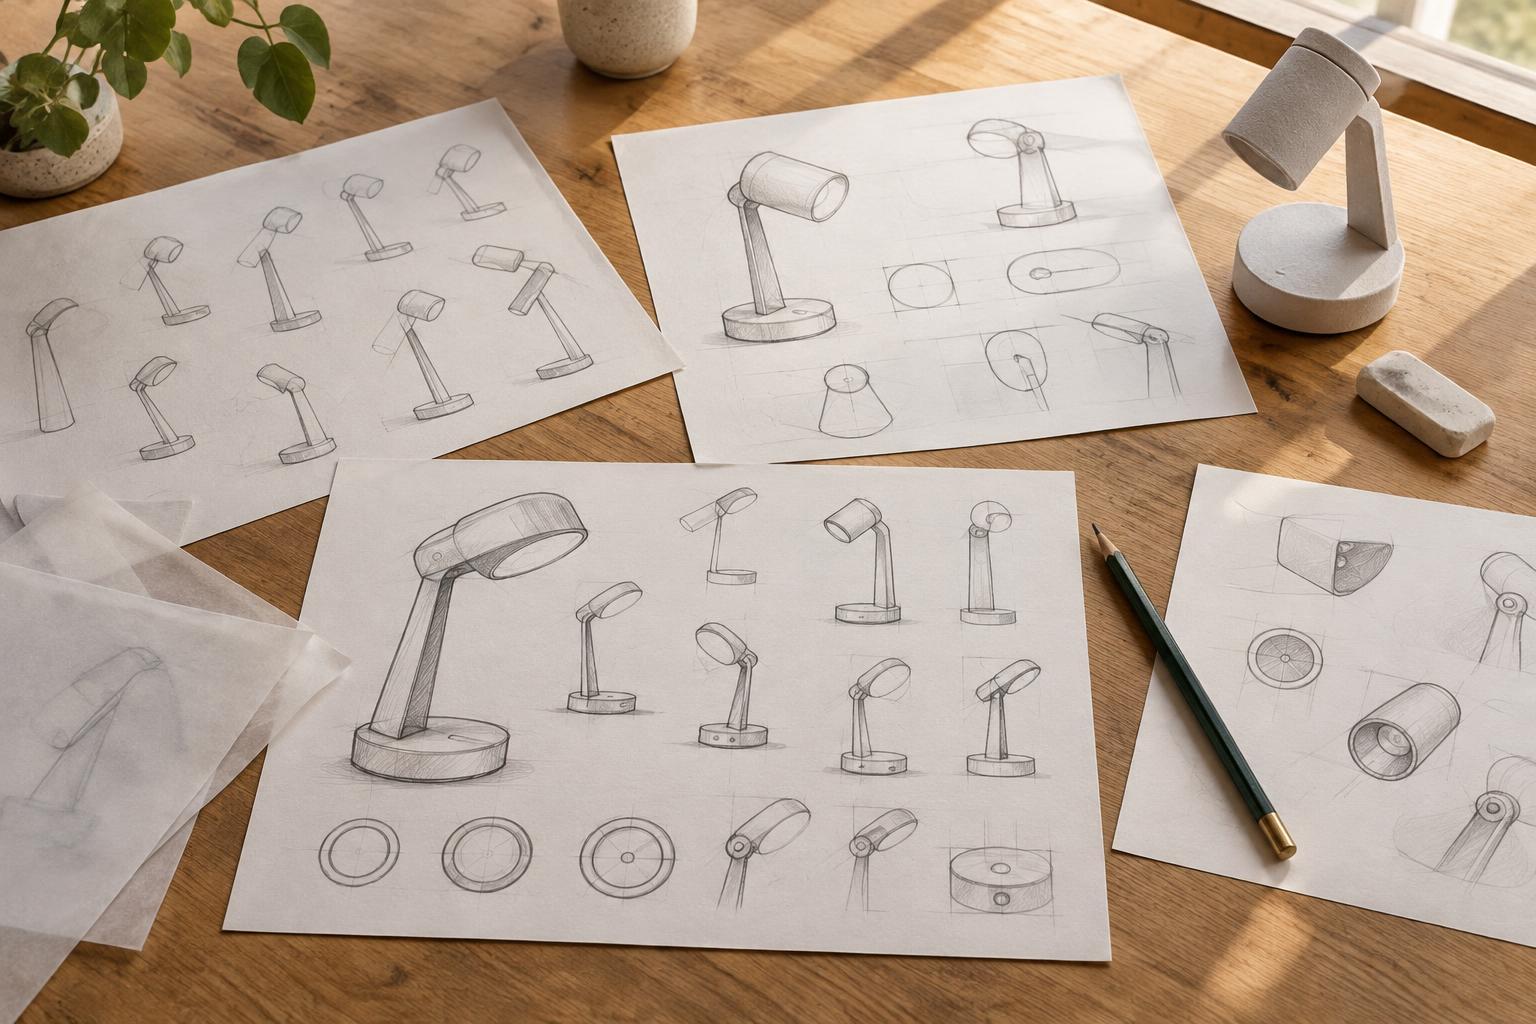
Begin with small thumbnail sketches. Give each thumbnail a short time and use simple lines or blocks of tone to capture its main arrangement. Drawing small discourages premature detail and makes it easier to fill a page with alternatives. Try changing one feature across a row, such as the position of a control, then changing a different feature in the next row.
Silhouettes are particularly useful at this stage. Draw the outside shape as a solid form and ask whether the proportions and orientation are clear without buttons, surface textures or color. You can also use a common outline as a starting point and redraw it with different grips, openings or bases. The aim is not to produce as many sketches as possible; it is to discover meaningful differences among them.
When an unexpected variation appears, follow it for a few more sketches rather than immediately returning to the original idea. At the same time, keep alternatives that serve different priorities. A compact option, an easy-to-clean option and an option with a more obvious grip may teach you more than three versions distinguished only by their styling.
Change views to reveal hidden problems
A three-quarter view communicates overall form, but it can conceal thickness, access and assembly questions. Once a promising idea emerges, sketch it from the front, side and top. These views do not need to be perfectly measured. They should agree well enough to show whether a feature has space to exist and whether the proportions still make sense when the object is turned.
Add a simple use sequence when interaction matters. Two or three frames can show where a hand approaches, what moves and what happens afterward. For a product with parts that open or detach, sketch both the closed and open states. A small sectional or exploded sketch can then help you consider how the parts relate, without pretending that the mechanism has already been engineered.
Annotate what the drawing cannot explain
Short notes can turn an ambiguous sketch into a useful record of intent. Label the surfaces a user touches, the parts that move and the features whose purpose may not be obvious. Use arrows to show motion or direction of use. If you are unsure whether a joint, material or manufacturing approach will work, write that uncertainty beside the drawing rather than presenting it as a settled decision.
Consider product constraints without letting them freeze exploration. A proposed material can affect thickness, flexibility, finish and the way parts meet; a likely production process can influence draft, seams or the number of components. Early sketches need not resolve those details, but they can flag places that deserve investigation. Notes such as “check finger clearance” or “compare one-piece and assembled versions” create useful next steps.
Compare ideas and choose what to develop
After a sketching session, place the drawings where you can view them together. Group similar ideas, then compare them against the original questions. Which options make the intended use easiest to understand? Which introduce awkward reach, extra parts or hard-to-access surfaces? Mark strengths and concerns directly on copies or beside the sketches. Avoid choosing solely because one drawing looks more polished.
Select a small number of distinct directions for further work, including one that challenges your initial preference if it offers a useful trade-off. Redraw those ideas larger, clarify their proportions and test a key interaction with a rough paper or cardboard model when appropriate. Physical checks may reveal issues a page cannot, such as balance or hand clearance. Concept sketching has done its job when it helps you identify what to keep, what to change and what to test next.