Start with the product as it will be packed
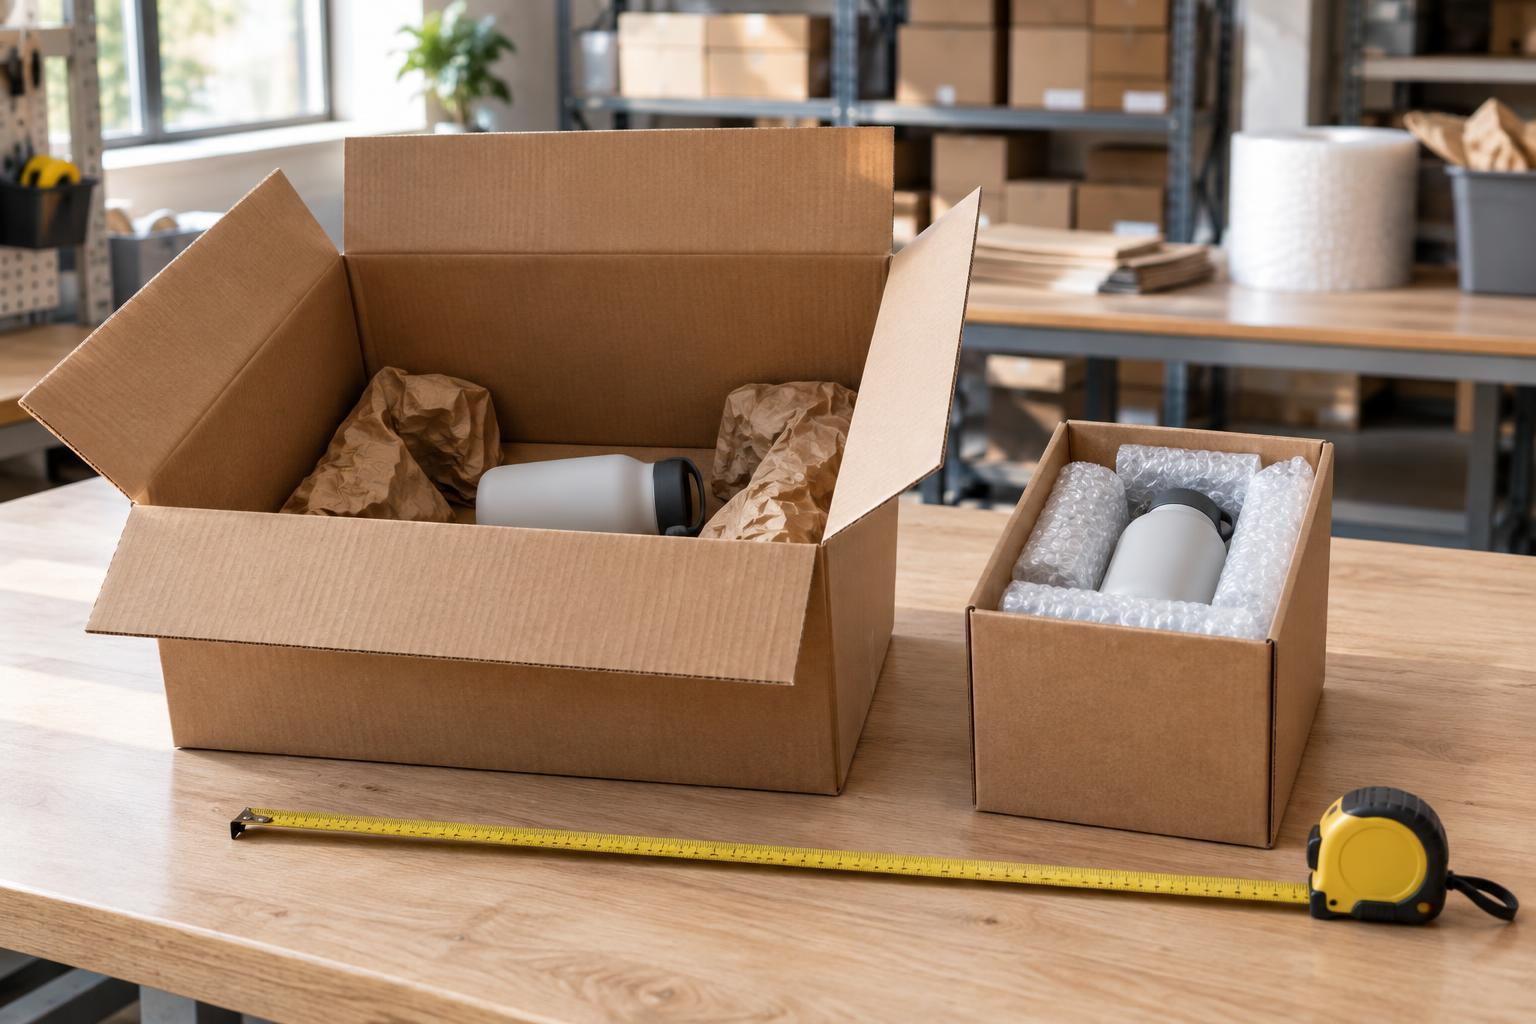
The right carton size begins with the item that will go inside it, not with an empty box. Measure the product at its widest, longest and tallest points, including handles, protrusions and parts that can shift. If it ships in a retail box, bag or tray, measure that complete unit instead. For a set of items, arrange them in the intended packing order and measure the group.
Decide which orientations are acceptable before choosing dimensions. A product that can lie flat may fit a shallower carton, while an item that must remain upright needs a different footprint. Consider whether workers can place and remove it easily. A layout that fits only when every piece is pushed into position may be too tight for routine packing.
Record which measurements are for the product and which are for the carton. Carton specifications may refer to inside or outside dimensions, and the distinction matters: the inside must fit the contents, while the outside determines how the packed carton occupies space in storage and transport.
Make room for protection, not just empty air
Cushioning, dividers and inserts need deliberate space. A fragile surface may need clearance from the carton wall, while a sturdy product may need only enough restraint to prevent it moving around. Select the protective arrangement first, then measure the complete packed assembly. Sizing a carton around the bare product can leave too little room for the protection it needs.
More space is not automatically safer. In an oversized carton, loose fill can settle and a product can move before the packaging stops it. Large gaps can also make packing results inconsistent if workers use different amounts of material. The aim is a repeatable fit: protective materials should stay in place, the item should not move freely, and the carton should close without forcing the contents downward.
Pay particular attention to the top and bottom. A carton that looks spacious from above may leave little clearance beneath the product or press a lid against a vulnerable part. Check the fit after all inserts and paperwork are added and the flaps are closed.
Allow for variation and practical packing
A measured sample is a starting point, not a guarantee that every unit will have exactly the same dimensions. Products, retail packs, inserts and cartons can vary slightly, and folds or seams can reduce usable space. Leave enough allowance for normal variation without turning that allowance into a broad, unprotected gap.
A simple packing trial can expose problems that measurements miss. Have someone pack several units using the intended materials and method. Watch for inserts that buckle, corners that catch, or flaps that resist closing. If the fit depends on a precise sequence, document that sequence; if it remains awkward, reconsider the layout or carton size.
Also check how the carton behaves when lifted and stacked. A box that is difficult to grip or has a bulging panel may be poorly sized even if its contents technically fit. Carton strength and material choice matter alongside dimensions, particularly when other boxes will rest on top.
Check the outer dimensions against the journey
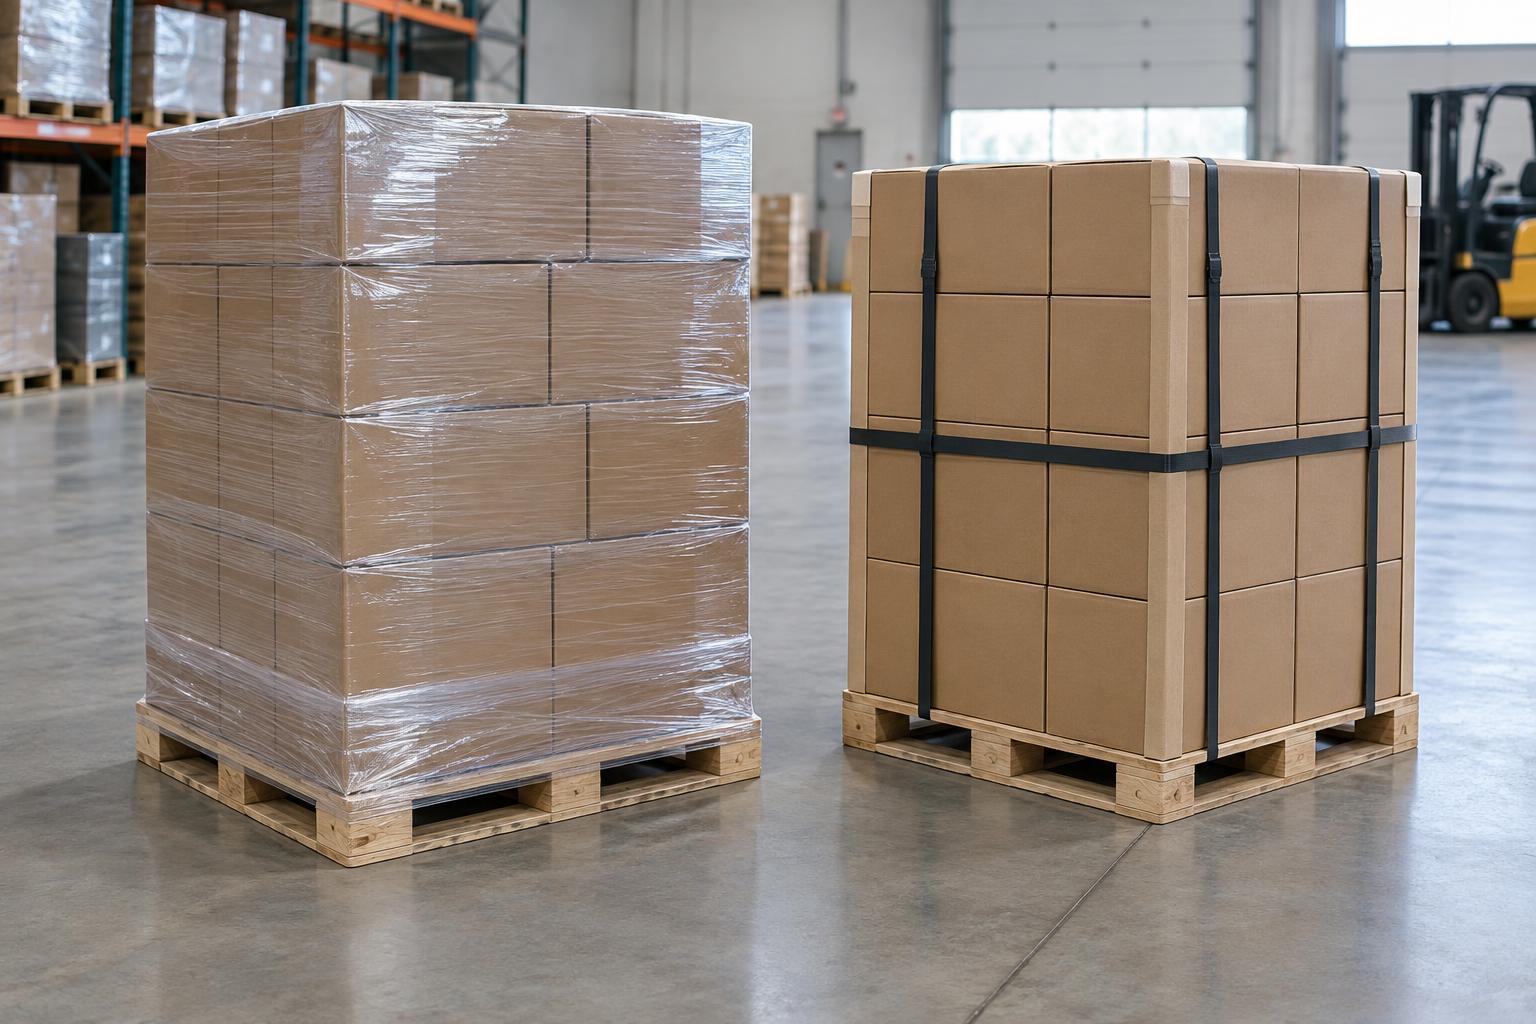
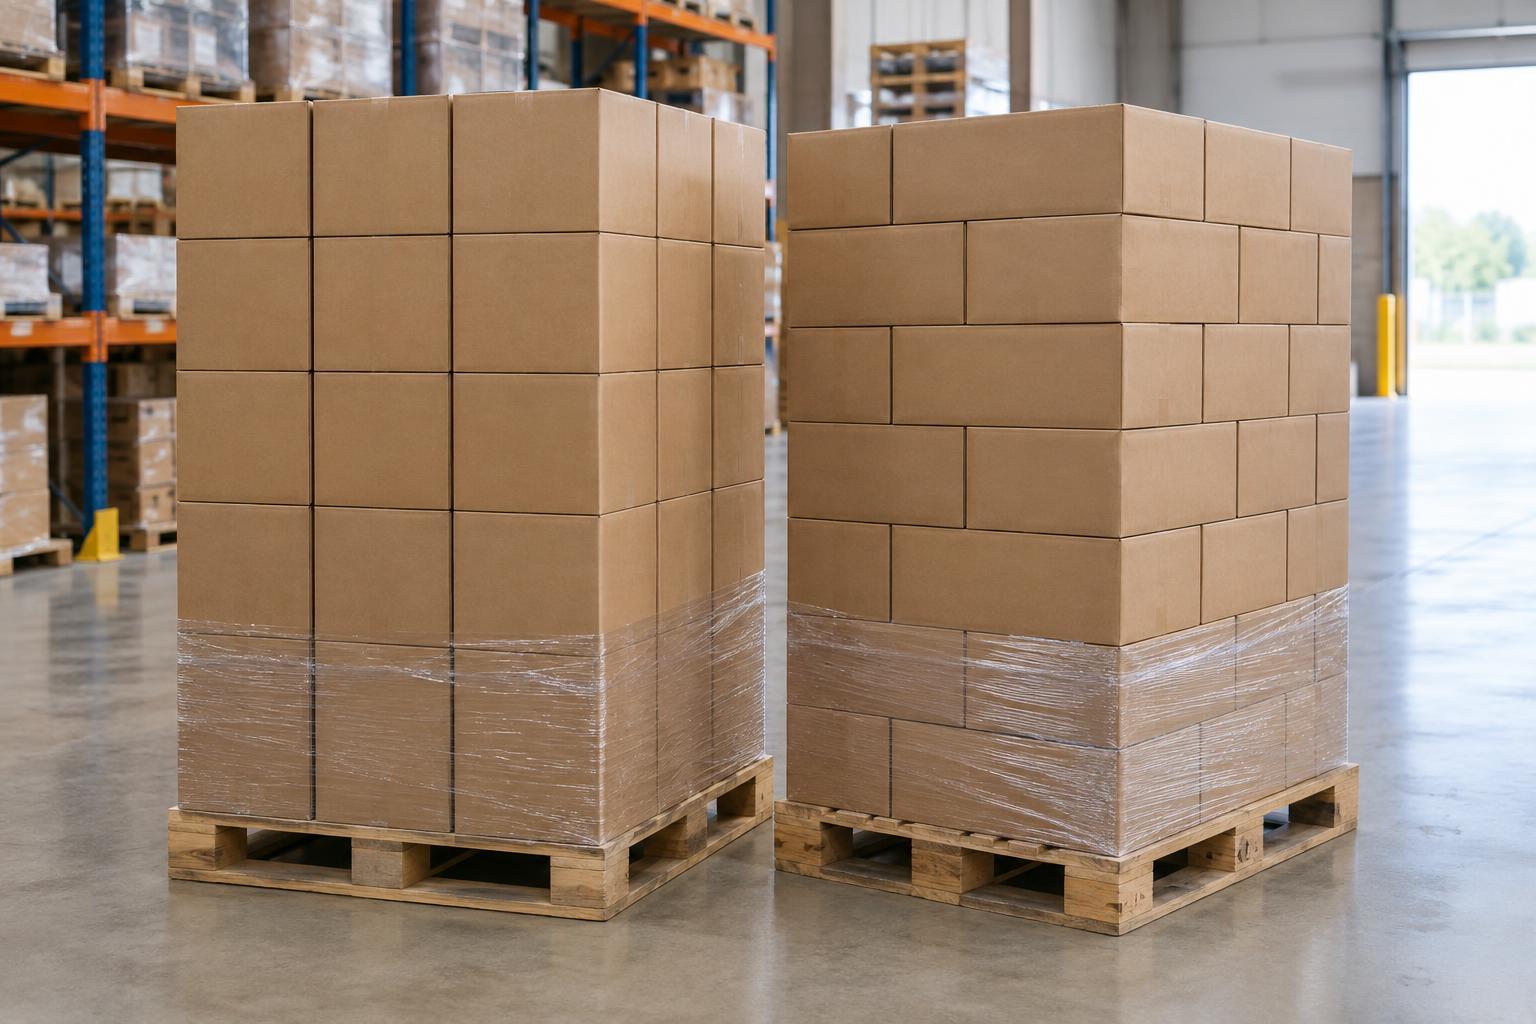
Once a promising internal size is established, measure the closed carton’s outside dimensions. The carton material and construction add thickness, and the sealed result may differ from the nominal box size. Outer dimensions affect shelf space, pallet layouts and the amount of room a shipment occupies. Some shipping services also use package dimensions when calculating charges, so reducing unused space can have benefits beyond using less material.
Look at the whole packing system rather than optimizing a single box in isolation. A slightly different carton footprint may arrange more neatly on a pallet or in a storage location, while an unusually shaped carton may create gaps. The smallest possible carton is not always the most efficient choice if it requires complicated packing or offers too little protection.
If several products share a carton size, test each intended configuration. A common size can simplify purchasing and storage, but it should not leave smaller products unsupported. Purpose-made inserts may help when the products differ in shape.
Test the choice before standardizing it
Build and pack sample cartons using the actual product, protective materials and closing method. Check that the contents are secure, the carton closes cleanly, and the packed unit can be handled as expected. For products at risk of damage, choose tests that reflect likely handling and stacking conditions; a visual fit check alone cannot show how packaging will perform in transit.
After a trial, inspect both the product and the packaging. Movement marks, crushed inserts or pressure points can reveal where space is poorly allocated. Adjust the orientation, protection or dimensions, then try again. Keep a clear specification for the chosen carton that states whether dimensions are internal or external and shows how the product should be packed. That makes a good fit easier to repeat, rather than relying on each packer to improvise.